Unfortunately, for the semi-professional photographer, insurance options are costly and the return on investment usually non-existent.
Photography like many other hobbies can become very addictive and very expensive. For the majority of us, when we first started engaging in photography our mantra was “I am just doing this for fun or to document family trips or growing kids.” As a result, our equipment was usually entry level and moderately priced.
However, somewhere along the way most of us decide that we need better equipment and lenses to improve the quality of our work. For some of us, this decision greatly improves the quality of our images, for others, the equipment was never the limiting factor to begin with, but that is a subject for a different blog post altogether. Either way, the end result is a bag, closet or room full of expensive camera bodies, lenses and other accessories. Consequently, that camera equipment that used to be valued around $1,500.00 has now ballooned and is now valued at $10,000.00 or more. Therefore, the next logical question is should I start looking into insurance for my camera equipment?
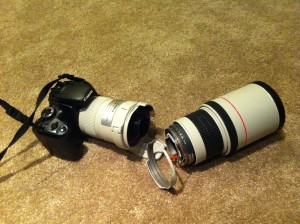
Some people rationalize that it is not worth obtaining insurance because the cost to replace a dropped camera body or lens, although painful, is not necessarily cost prohibitive. Most semi-professional camera bodies cost anywhere from $1,500 to $4,000.00. Most standard professional quality lenses cost between $1,200.00 and $2,500.00 not including the more niche lenses used for birding/wildlife (Professional classified camera bodies approach $10,000.00 and some niche lenses also equal or exceed this number. This article assumes that if you own these types of bodies or lenses that you are truly a professional photographer that likely carries insurance due to employment requirements. However, the analysis set forth herein applies to those non-professionals that also own such equipment.) In these instances it might not make sense to acquire insurance depending on an individual’s discretionary income levels and his/her ability to outright purchase replacement equipment and/or pay annual insurance premiums.
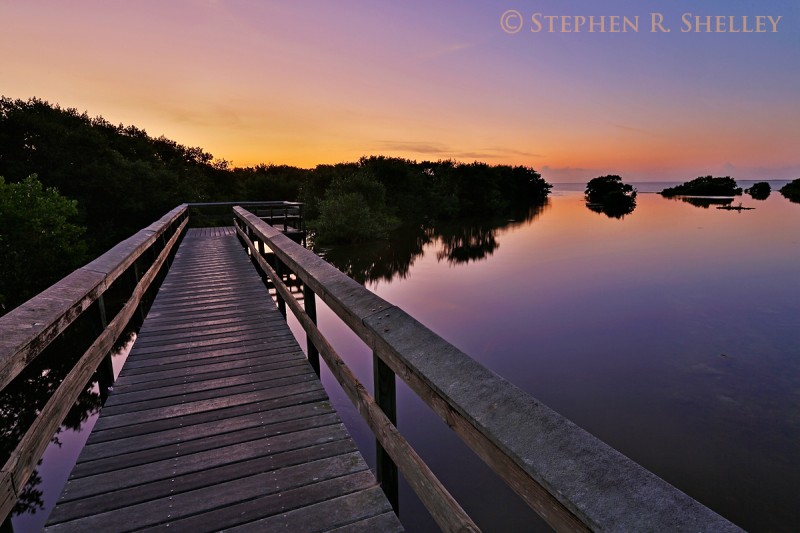
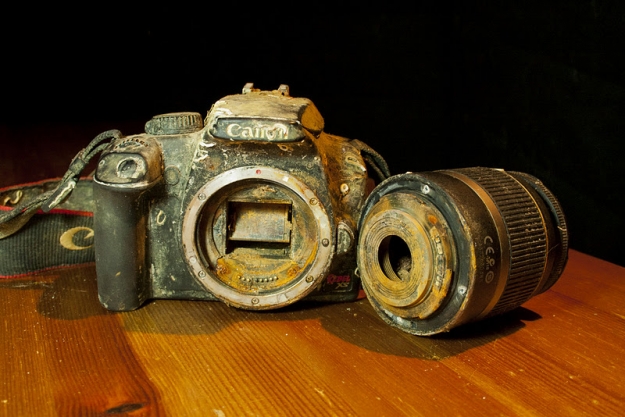
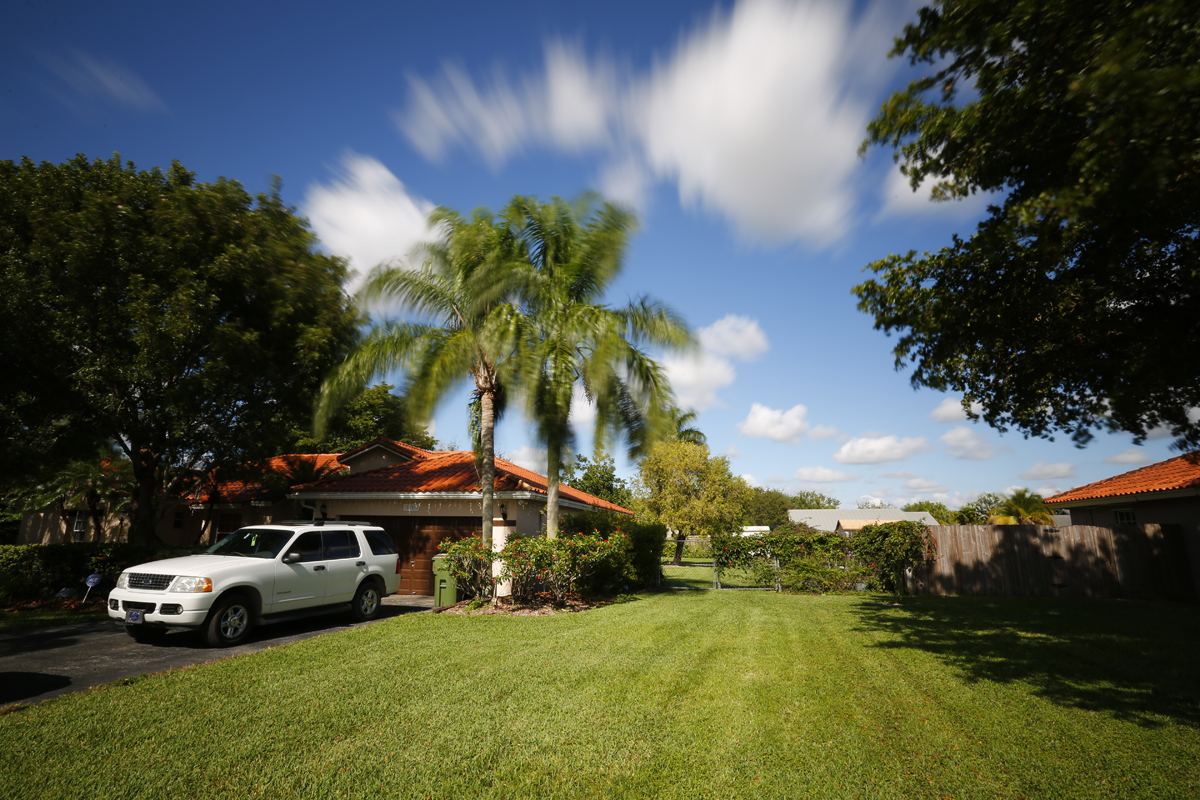
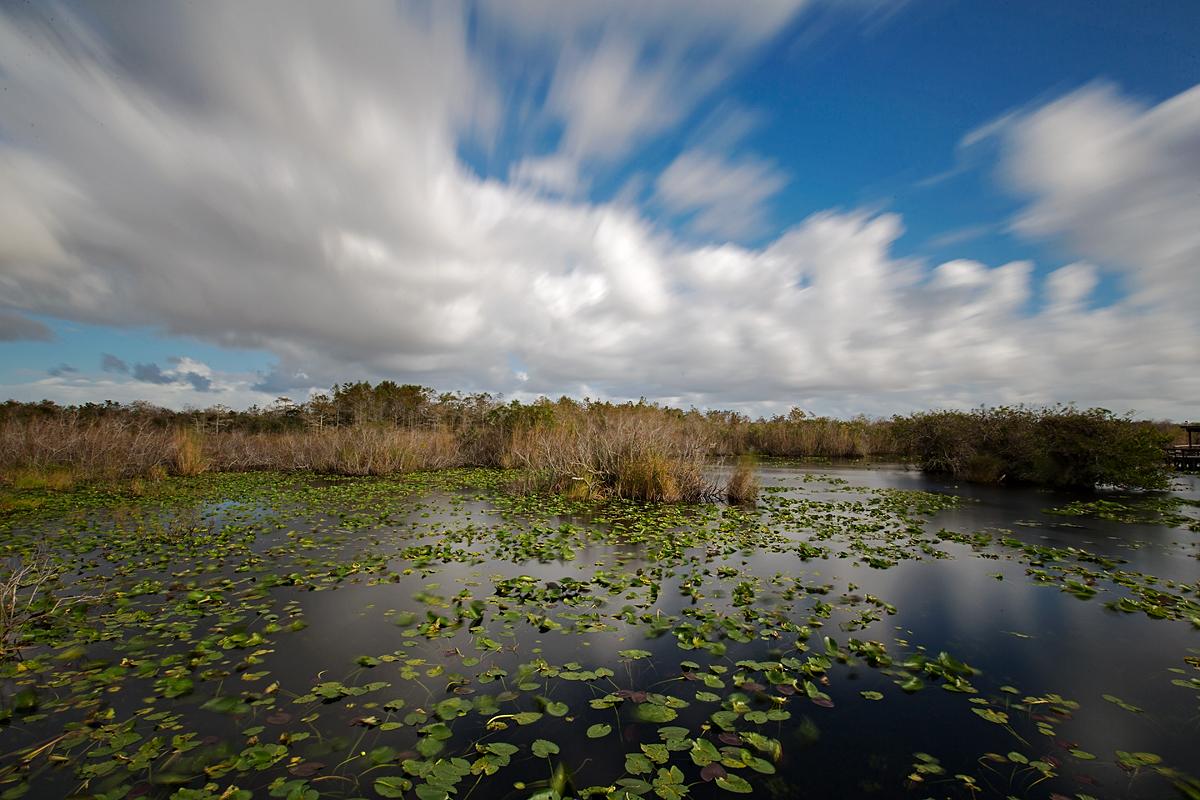
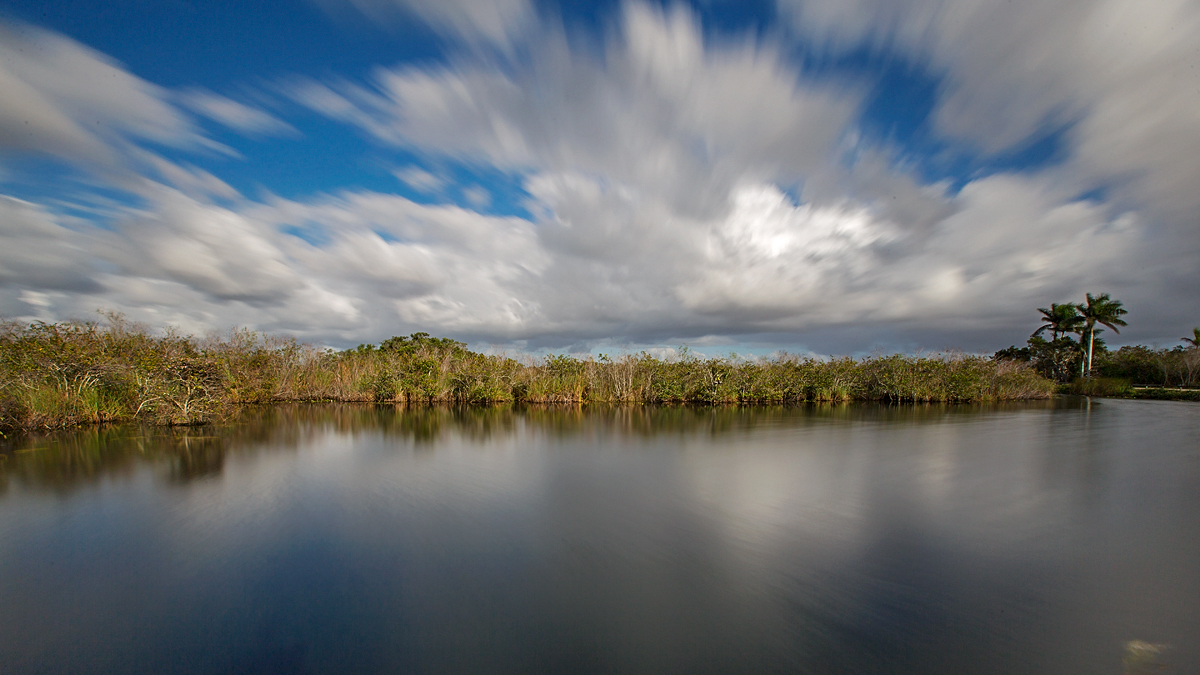
Now let me paint a different scenario that puts this analysis into better perspective. I do a lot of landscape photography that takes me out into the wilderness or hiking through the swamps. If you are like me, then I find that I bring as much of my equipment as my bag will accommodate. I don’t want to miss a once in a lifetime shot because I did not have the right lens or camera body. However, what happens when you get caught out in an unexpected rain storm, fall down in a gator hole or tip over your canoe. Now you are not just replacing one camera body or lens but instead potentially replacing your entire collection of camera equipment. For most of us, it took a good number of years to acquire our equipment; the prospect of trying to replace it all overnight is not practical and/or possible.
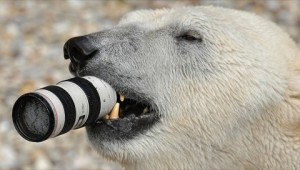 Landscape and wildlife photographers especially tend to enjoy nature and purchase their equipment for the sole purpose of hiking and exploring with it. Consequently, leaving your photography equipment at home during your adventures is not an option.
Okay, so now that I have you thinking about protecting your investment in your photography equipment, what are your options and how much might the premiums be?
There are two (2) primary ways to acquire insurance for your photography equipment. The first and cheapest method (option 1) is to add your photography equipment as a Personal Articles floater/rider onto your homeowner’s insurance policy. The second method (option 2) is to acquire a separate stand alone insurance policy for a specified value of camera equipment.
Option 1 is only applicable to amateur/hobby photographers and their equipment. It cannot be acquired by any individual that takes photos for commercial purposes. Commercial purposes includes, but is not limited to, photo shoots whether studio or otherwise and/or the selling of prints including on sites such as smug mug or similar websites. If you make one penny from your photography you will not qualify as a hobbyist or amateur, even if the income is sporadic or inconsequential.
If you add your photography equipment to your homeowners policy and fail to inform them that you sometimes make money off of your photography they will deny your claim if they later discover you use your equipment for commercial purposes. There would be nothing worse than to have paid premiums only to have the insurance company deny your claim after your equipment has been damaged. There are plenty of stories of individuals who have done just that. In one instance, the insurance company discovered the website of the insured in which his photos were offered for sale. The insurance company deemed that he was engaged in commercial activities and using his photos for commercial purposes and his claim was denied.
If you qualify for this option, make sure the rider you choose covers your equipment while being used or located outside of your home itself. Some policies only cover your equipment if damaged while in your home and if caused by certain occurrences. Therefore, make sure you read your policy and that you understand the coverage it provides. The ideal policy is an all-risk policy and covers your photography equipment wherever it is being used for all damage except that which is specifically excluded. Additionally, you want the policy to provide a replacement cost of the equipment usually established by a schedule attached to the policy and accompanied by serial numbers corresponding to the itemized equipment.
The cost to add your camera equipment to your homeowner’s policy is usually around $100 to $150.00 annually. Many times these policies are also available with no deductibles.
One caveat to personal articles floaters on your homeowners insurance is that a filed claim for damaged camera equipment will technically be a claim made on your homeowner’s policy. There is some risk that multiple claims could cause an increase in future homeowner’s insurance premiums.
Option 2 requires the purchase of a separate policy, usually an inland marine policy or photography business specific policy. The cost of these types of policies is determined by a cost multiplier that is applied to the total value of the equipment insured. The average is somewhere around $2.00 per $100.00 of value. Therefore, insurance on $15,000.00 worth of equipment would be around $300.00 plus any other fees or other coverage that may be assessed by the insurance carrier. These types of policies normally have a deductible that averages between $250-$500 per claim. Just like in the homeowners policy above it is important to read the policy and make sure you understand under what circumstances your equipment is covered and how the equipment is valued for replacement purposes. The best coverage is all-risk replacement cost coverage.
Other policy terms to look over thoroughly are how your chosen policy covers theft and/or mysterious disappearance coverage. Camera equipment left in an unlocked car may not be covered, whereas if the car is locked it usually is covered. Also, if you get caught up in your photography and leave your bag behind is the equipment covered if missing when you return? Some policies will say yes, others no. In all cases police reports usually have to be made and filed for any chance at coverage.
At this point you should understand what policies are available to you. Now a few important decisions must be made by you the semi-professional photographer. The first decision is do you need insurance based on the value of your equipment, your personal level of risk aversion and your available discretionary income to replace equipment that might become damaged?
 If you decide that you do need insurance for your camera equipment, the second decision to be made is do you make enough income off of your commercial photography activities such that it is worth paying an annual insurance premium of $350.00 or more? If the answer to this question is yes then you will need to acquire a separate inland marine policy or photography specific business policy for your equipment.
If the answer to this question is no, then you likely need to reconsider engaging in any commercial photography activities so that you can qualify for a cheaper Personal Articles Rider to your homeowners insurance policy. Is it really worth paying an extra $200.00 plus dollars a year just to list your photos for sale on a website that results in only a few dollars worth of sales a year?
Unfortunately, for the semi-professional photographer neither insurance option is really an ideal choice. It would be great to have a low cost policy available that also lets you dabble in commercial photography activities (such as dollar value threshold of sales/photo shoots a year). Unfortunately, no such policy currently exists to the mass public. To assist you in choosing between the insurance options that are currently available I have provided additional information below.
While researching this topic I came across this useful chart that outlines the major options for photography insurance including insurance provided as a result of joining various photographic associations. The chart was produced in 2007 and some of the links do not seem to work but the basic guidance is still relevant and useful as a starting point in your search for insurance. The cheapest, but not necessarily the best, insurance coverage from the chart options is through PPA (see discussion below).
A quick discussion about insurance obtained through the Professional Photographers of America (PPA). Those persons joining PPA are entitled to free insurance coverage for up to $15,000.00 worth of photography equipment. The cost to join PPA is $273.00 per year. There is a $250.00 deductible for the first loss and it increases for each claim up to a max of $750.00. The coverage is not replacement cost, instead its cash value which is determined by a depreciation schedule. The value is determined by the production year (different than year you purchased the equipment) minus the current year plus one. Depreciation is 25% per year for a maximum depreciated value of 80%.
Example: You purchase a Canon 5DIII in 2014. The camera purchased was produced in 2013. You drop your camera causing irreparable damage in 2017 (3.5 years later = 80% depreciation). The insurance company would cut you a check for $450.00 ($3,500 x 80% yields $2,800; $3,500 – $2,800 = $700.00-$250.00 deductible = $450.00) to purchase a replacement camera.
Good Luck. You might be able to afford a used Rebel for that amount in 2017 but not another Canon 5d III or its equivalent. Remember you also paid $273 for three years representing the insurance premiums. You are now upside down $369.00 ($273.00 x 3 = $819.99 – $450.00 = $369.00) and you still don’t have a replacement camera. You can now see why replacement coverage is so important and why PPA insurance is not really worth having. Join PPA for the other services not for the insurance.
You can purchase additional insurance through PPA and some of the other photographic societies but these are just re-branded polices through other brokers or insurance agents. It would be more cost effective to contact the brokers or companies directly rather than go through PPA or other photographic society.
Another option for insurance is offered through the photography forum photo.net. Photo.net has negotiated a group insurance rate through a third party insurance company. They have two options, liability only and equipment plus liability. Unfortunately, they do not have an equipment only option otherwise it would be time to celebrate for the semi-professional photographer.
Instead, to obtain their equipment coverage the cost is $175.00 for the general liability coverage plus $150.00 for $15,000.00 worth of equipment coverage plus $25.00 for the photo.net membership. The total cost to obtain equipment coverage is now back to $350.00, the same as a standalone insurance policy with a standard insurance company. Granted you get more for your money with the photo.net coverage because is also includes general liability, but the semi-professional photographer is not usually in need of, or interested in obtaining liability insurance. The equipment coverage is replacement cost coverage (all risk) with limited exclusions.
I hope I have helped educate you, the semi-professional photographer, on the pitfalls of obtaining photography equipment insurance and given you a starting point on your frustrating journey.