Coco Cay Bahamas

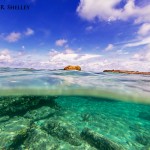
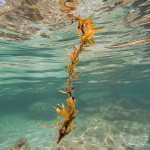
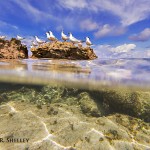
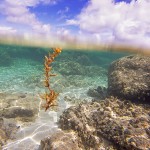
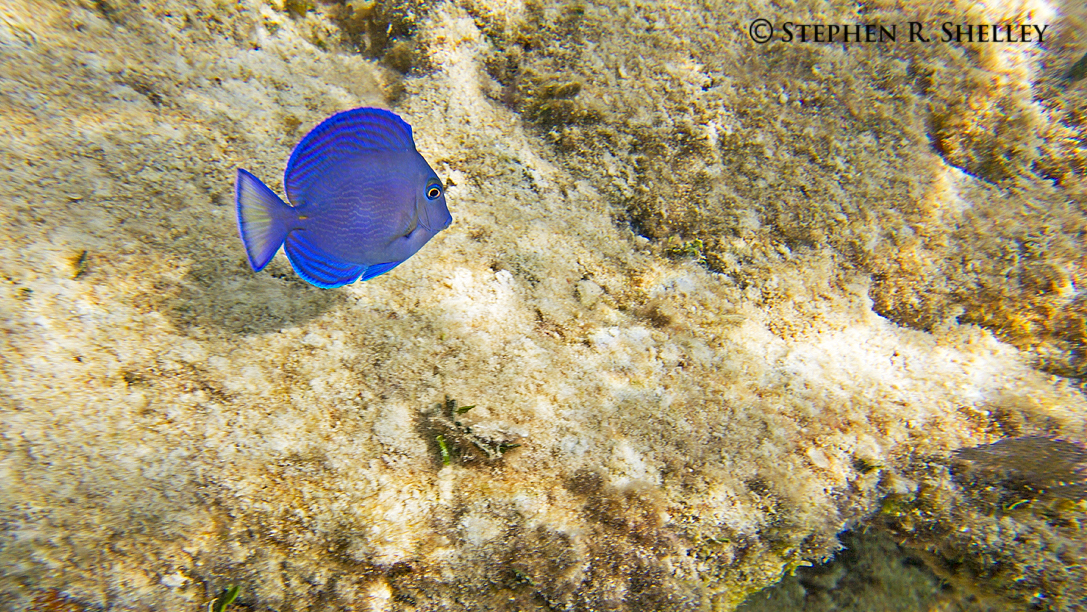
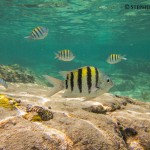
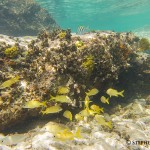
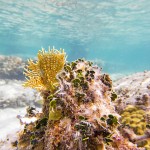
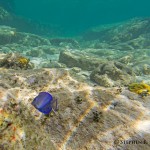
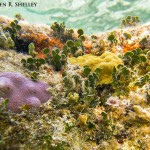
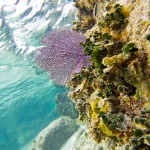
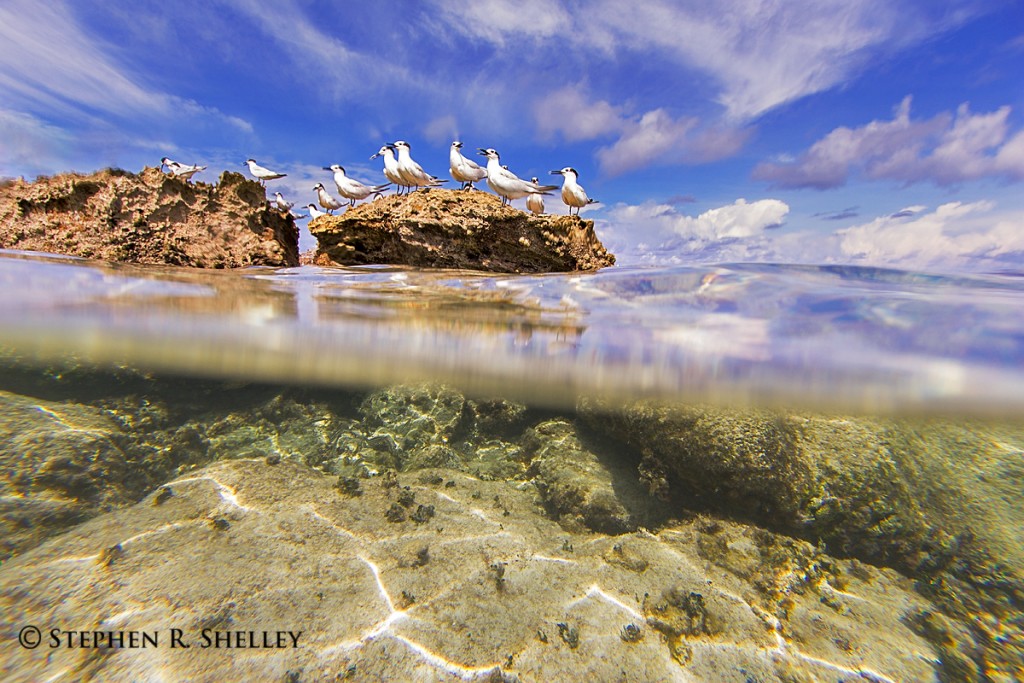
My wife and I decided to take a quick weekend getaway to the Bahamas aboard a Royal Caribbean Cruise ship. It was only a 3 day itinerary but it was nice to leave the borders of Florida if only for a few days. We spent some time in Nassau and then went to Royal Caribbean’s private island Coco Cay. I have been to the Bahamas a multitude of times but never to Coco Cay. It was a nice little tourist trap but probably not somewhere I would be quick to try and return to. I did enjoy there little reef area where there were a good number of colorful rocks, sea fans, coral and of course tropical fish.

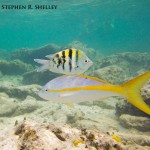
I opted to use my new Outex underwater cover over my older T2i instead of my Canon 5D Mark iii. I am glad I did because I accidentally hit a rock while chasing a fish causing a break in the seal and letting just enough water in to brick the camera. However, before the camera died I did manage to get some decent underwater shots of some of the tropical fish including a flag yellow tail. I have used the Outex cover numerous times before with no problems and even a few time since. The failure was a result of my bumping the rock with the front glass element that seals around the neoprene cover. I then did not surface to check to make sure the seal was intact. Instead I kept chasing fish and ultimately ended up with about a tablespoon of water inside the cover. This still would not have likely been a problem except I started shooting directly straight up which caused the water to eventually find a weakness in the camera body and short it out. Moral of the story is check your seal periodically especially when you bump underwater objects with it.

Below are some the images I captured before the water intrusion.

Keeping Lens Filter From Binding Onto Camera Lenses

I frequently use lens filters with my lenses for my landscape photography such as circular polarizers, neutral density filters and step up rings. Inevitably they always seem to get stuck on my lenses at the most inopportune time. I then spend the rest of my photo shoot trying to get the lens off or, if I just leave it on and try to work around it, frustrated that the lens filter is stuck.

Luckily, I have always eventually been able to remove the stuck filter. The same cannot be said for some other photographers I have spoken to. Some of them have had filters on their lenses that have been stuck for years. After the most recent occurrence I started thinking there had to be some way to keep this from continuing to happen. After spending some time researching I finally found a solution that works and thought I would pass it on to my fellow photographers.

From my research there were two (2) primary approaches to keeping lens filters from remaining stuck in perpetuity. The first was using tools to remove filters after they were stuck, the second was taking preemptive action to keep them from getting stuck in the first place.

For removing already stuck lens filters it seems the best tool for the job is a lens filter wrench. These cheap accessories apply equal pressure to the filter and from all accounts easily remove the filter from the lens. The lens wrenches usually come in packs of two (2) and can be had for less than $10.00 at your local photo supply store. Even if you take preemptive actions it is not a bad idea to own and carry this item with you on your photo excursions.

To keep lens filters from becoming stuck in the first place, the best solution is to use good old pencil lead. Turns out pencil lead is primarily made from graphite. Graphite is a great dry lubricant and does not cause a mess, smear on the lens or attract additional dirt and grim that is likely to cause the lens to get stuck even more frequently. Without getting into to much detail, pencils are labeled based upon the level of graphite they contain. The softer the lead the more graphite it contains. The softest pencil available is a 9B the hardest is a 9H. These pencils are typically only found at your local hobby store. However, many people use the standard No. 2 pencil as well. Here is a link to a more detailed explanation of pencil hardness http://www.cultpens.com/pencyclopedia/lead-hardness.

For me I went to my local hobby store and picked up a 6B which happened to be the softest they had in stock at the time. When I got home I proceeded to rub the lead on the threads of my lenses and my filters. I then blew off any excess powder than did not stick to the threads. I am happy to say that I have not had any stuck filters since taking this preemptive action. I also now carry a lead pencil in my photo bag with me and occasionally add a new layer of lubrication to the filters.

Everglades Coalition Conference 2015

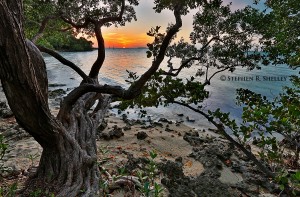
This past weekend the 30th Annual Everglades Coalition Conference took place in the only Three Palm Designated Hotel in the Florida Keys, the Hilton Key Largo which overlooks Florida Bay.  The theme of this year’s conference was Send It South: Water For America’s Everglades. Florida Bay Sunset Hilton

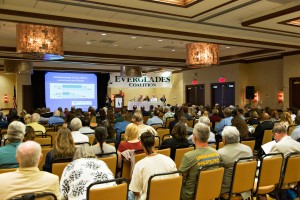
More than 300 people comprised of local state and federal elected officials, environmental advocacy groups, state and federal agencies, scientists, educators, media members, students and the general public came together this past weekend to work toward a common goal, restoration and preservation of the Everglades Ecosystem.  The Everglades Coalition, who puts on the annual event, is an alliance of 57 local, state and national conservation and environmental organizations dedicated to full restoration of the Greater Everglades Ecosystem through advocacy, education, research and other efforts.

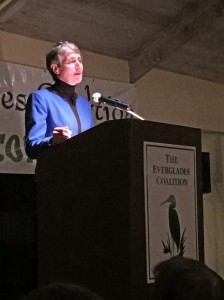
One of the highlights of this year’s conference was an appearance and keynote speech by United States Secretary of the Interior Sally Jewell.  Prior to speaking at the conference, Secretary Jewell toured Florida Bay and Everglades National Park, including taking a slough slog through a cypress dome.  Later that evening, Secretary Jewell acknowledged the determination and hard work of the Everglades Coalition and congratulated them on their many successes including bringing Everglades restoration and preservation initiatives to the fore front.  Secretary Jewell went on to state that she would continue to be an advocate for restoration initiatives and that restoration of America’s Everglades is a top priority.

SecretaryJewell(PhotobyNPCA)The location of the conference next to Florida Bay was fitting as many of the discussions centered on Florida Bay and how the condition of the plants and animals within it are key indicators of the health of the Everglades watershed.  The consensus among experts is that more freshwater needs to be delivered into the surrounding tributaries north of Florida Bay in order to reach historical salinity levels and create an environment in which the fish, birds and plants can thrive.  To effectuate this, water that is now being diverted east and west needs to be re-engineered to once again flow south.

Presently, water that has historically flowed south to Everglades National Park and Florida Bay is instead now being diverted West to the Gulf of Mexico and East to the Atlantic Ocean through a series of canals.  The diverted water contains high levels of nitrogen and other contaminants that are not given the opportunity to be filtered out through natural processes.  The result is frequent toxic algae blooms that can decimate the plant and animal life it encounters.  As a result, not only is Everglades National Park and Florida Bay being deprived of the water it needs, but the diverted water is now wreaking havoc on otherwise healthy ecosystems.

The good news for advocates is that most parties now seem to agree that the problem needs to be addressed however, a unified solution remains elusive.  The main stumbling block is that the land necessary to restore clean natural water flow south from Lake Okeechobee is presently in the hands of private land owners.  This land is needed to create water storage retention areas that can be used to naturally filter the contaminants from the water as well as give the Water Management Districts the tools they need to properly control the rate of flow during the rainy and dry seasons.  Advocates for Everglades restoration hope that Amendment One (1), passed by 70% of Florida’s voters, will help provide a necessary state revenue source to purchase lands and fund water projects to send the water south.

While a solution is being devised, other projects are already moving forward further south to help increase the flow to Everglades National Park and Florida Bay and restore the Everglades Ecosystem.  Most of these projects are 20 years in the making and have had to carefully balance the need for flood control for the heavily populated areas in South Florida with the need to restore the natural sheet flow of water through the Everglades.  Some projects have been completed, such as the 1 mile bridge on Tamiami Trail, or are nearing completion like the Picayune Strand restoration and pump project, whereas others have stalled due to a lack of federal funding.

On this front, legislation has been filed by both the Federal House and Senate to expedite 1.9 billion in funding for restoration projects set forth in the Central Everglades Planning Project (CEPP), specifically those focused on moving the water south.  The legislation has bi-partisan support but was not heard during the recent lame duck session.  It is anticipated that action will be taken on the proposed legislation during the 114th Congress.         _66A9771

What does a restored Everglades mean to Florida and local communities?  Traditionally, most arguments in favor of Everglades restoration have focused on environmental and scientific facts and figures.  However, recently the argument for Everglades restoration has morphed into an discussion of economics and return on investment.

In 2011, Florida had 87.3 million visitors that generated 67 billion dollars and resulted in Florida being the number one (1) tourist destination in the world.  The attraction for many of Florida’s visitors is its natural resources such as lakes, rivers, beaches, parks and forests.  Fishing and related activities accounted for 80,200 jobs and 5 billion dollars in annual revenue.  Photography, bird and animal watching activities generated more than 5.2 billion dollars.  In 2011, Florida’s state parks had 21.1 million visitors, the Magic Kingdom in Orlando only had 18 million visitors.  In 2013, Florida’s National Parks had 10.2 million visitors.

The argument for restoration economics is that without clean water and a healthy ecosystem there will not be any fish to catch, birds to watch or nature to enjoy.  A depleted and unhealthy ecosystem will result in a huge negative economic impact to Florida’s economy and a loss of hundreds of thousands of jobs.

A recent study funded by the Everglades Foundation found that for every $1 invested in Everglades Restoration activities $4 will be generated in economic benefits or a 4 to 1 return on investment.  It is estimated that a restored everglades will add an additional 46.5 billion dollars to the Florida economy over the next 50 years and create an additional 440,000 jobs.

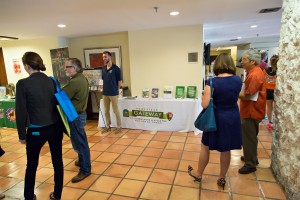
Everglades restoration and activities related thereto have the potential to create huge economic benefits to those communities ready to embrace the environment around them.  By branding themselves as the “Gateway to Everglades and Biscayne National Parks” and building a partnership with their neighboring national parks, the City of Homestead has already positioned itself to not only advocate for its neighbors but to also benefit economically.

_66A9778The Homestead National Parks Trolley has already generated economic benefits to Historic Downtown Homestead by hosting more than 5,000 riders during last year’s shortened trolley season.  Additional projects already in the works, such as the Biscayne/Everglades Greenway, look to further solidify the City’s partnerships and create additional economic benefits to both the City and the National Parks.

Moreover, the City of Homestead’s connections with Everglades and Biscayne National Parks have created positive news media coverage both locally and nationally, providing invaluable marketing dollars to the City of Homestead.  The most recent national media coverage centered on the release of the Everglades Quarter this past December and the Homestead National Parks Trolley’s participation in NASCAR this past November.

A restored Everglades benefits all; the wildlife, residents, local communities and the economy of the State of Florida.

Biscayne National Park, Stiltsville, Boca Chita and Elliot Key

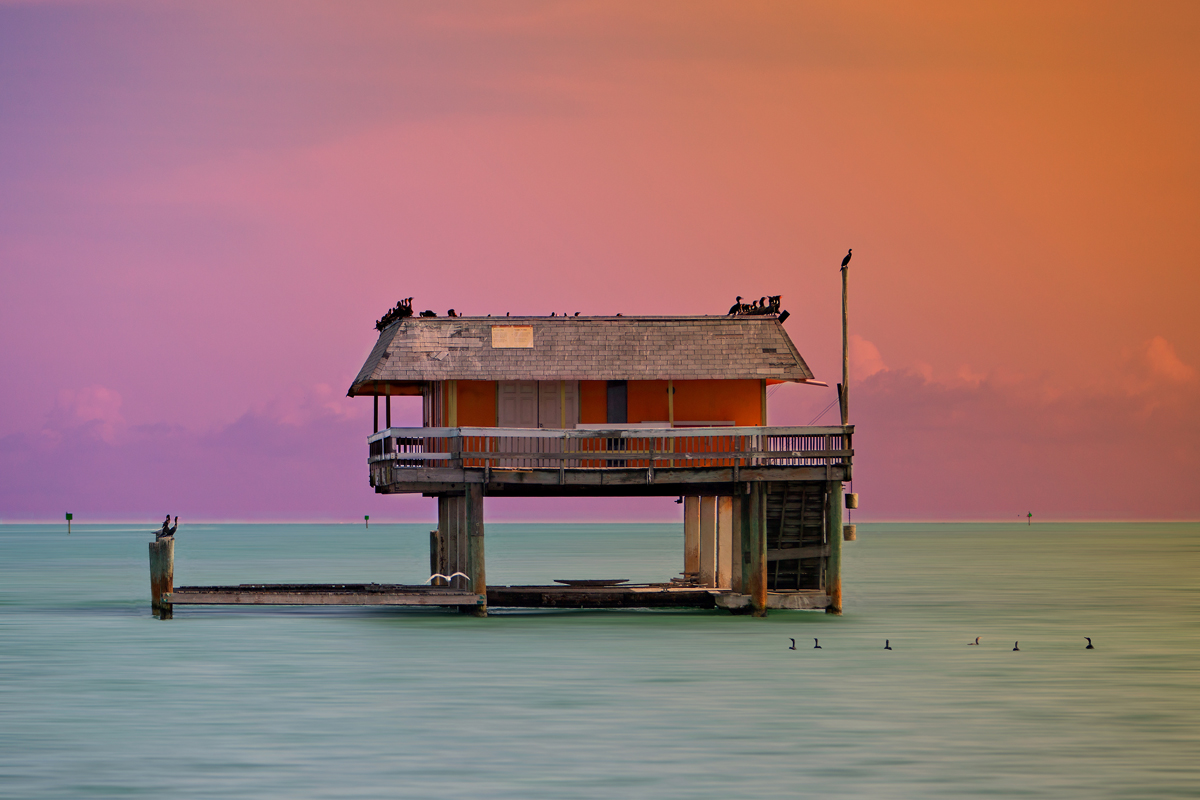
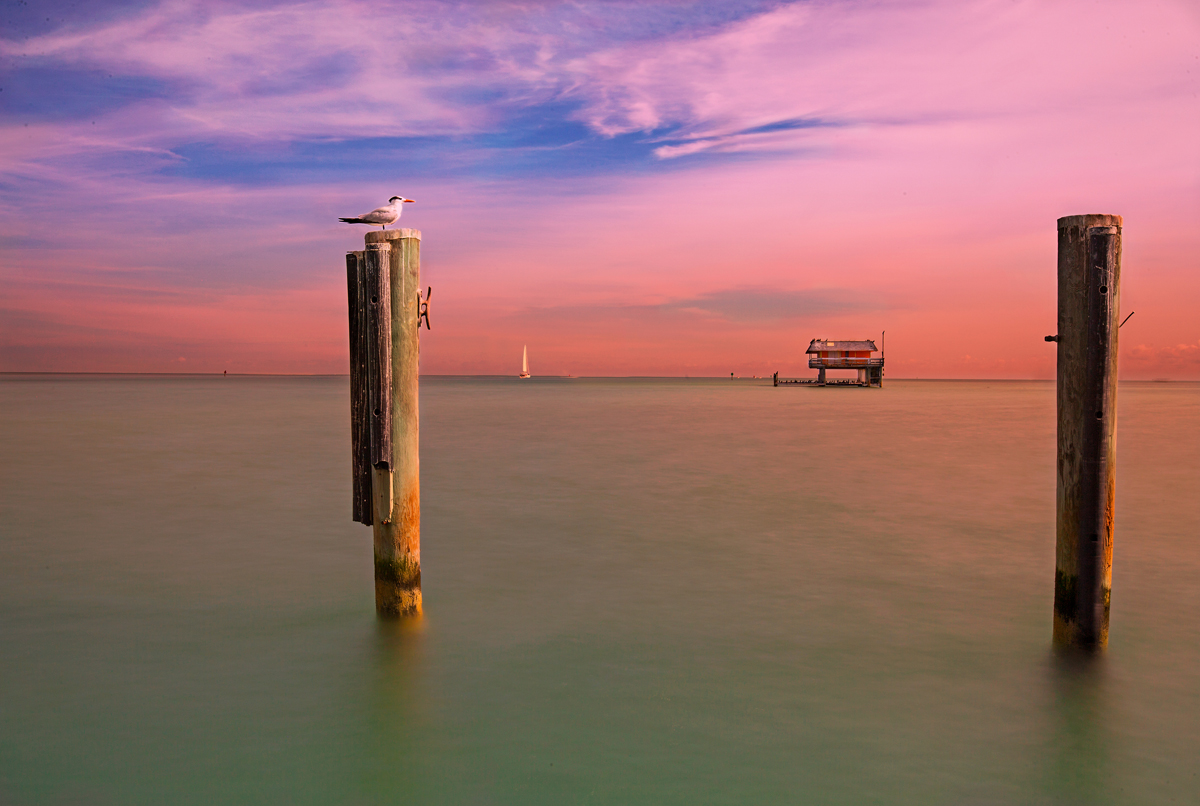
I was recently asked to provide some images for an upcoming event called Baynanza organized and run by Miami-Dade County.  The purpose of Baynanza is to promote clean water and organize volunteer groups to pick up trash and debris in and around Biscayne Bay.  The organizers needed my images for the calendar of events and other marketing materials.  The only problem was that I did not have many images from around Biscayne Bay and the Park.  Therefore, I spent much of the past two weeks during the Christmas Holiday out in Biscayne Bay with my camera trying to capture inspiring images that could be used to promote this great cause.

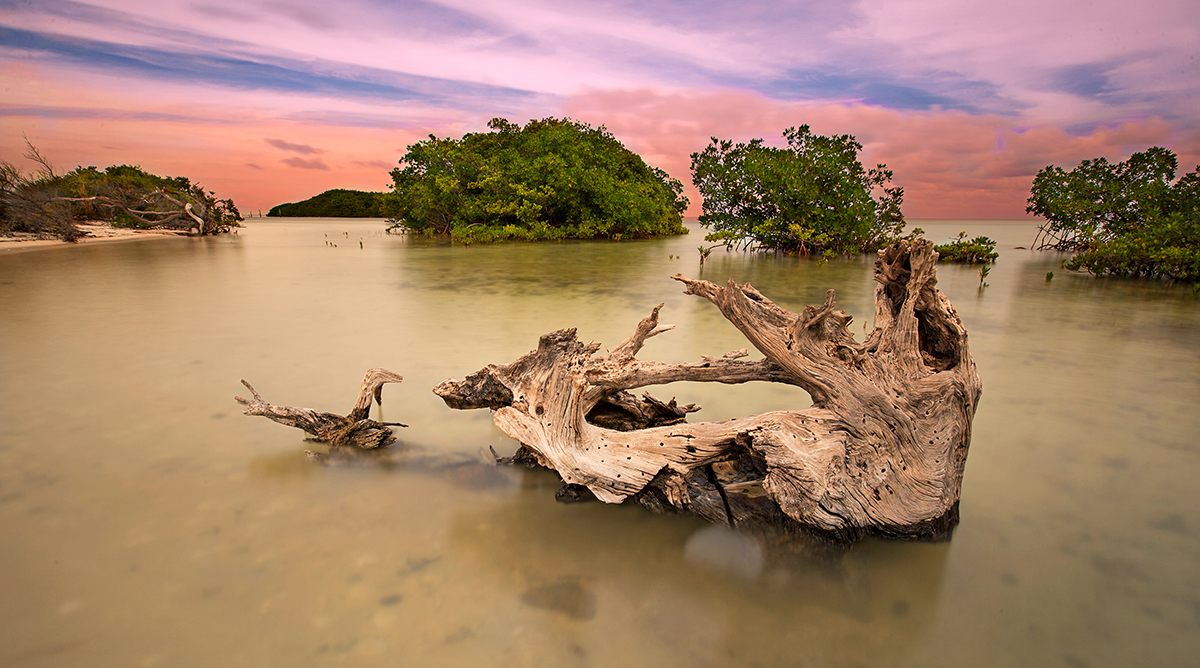
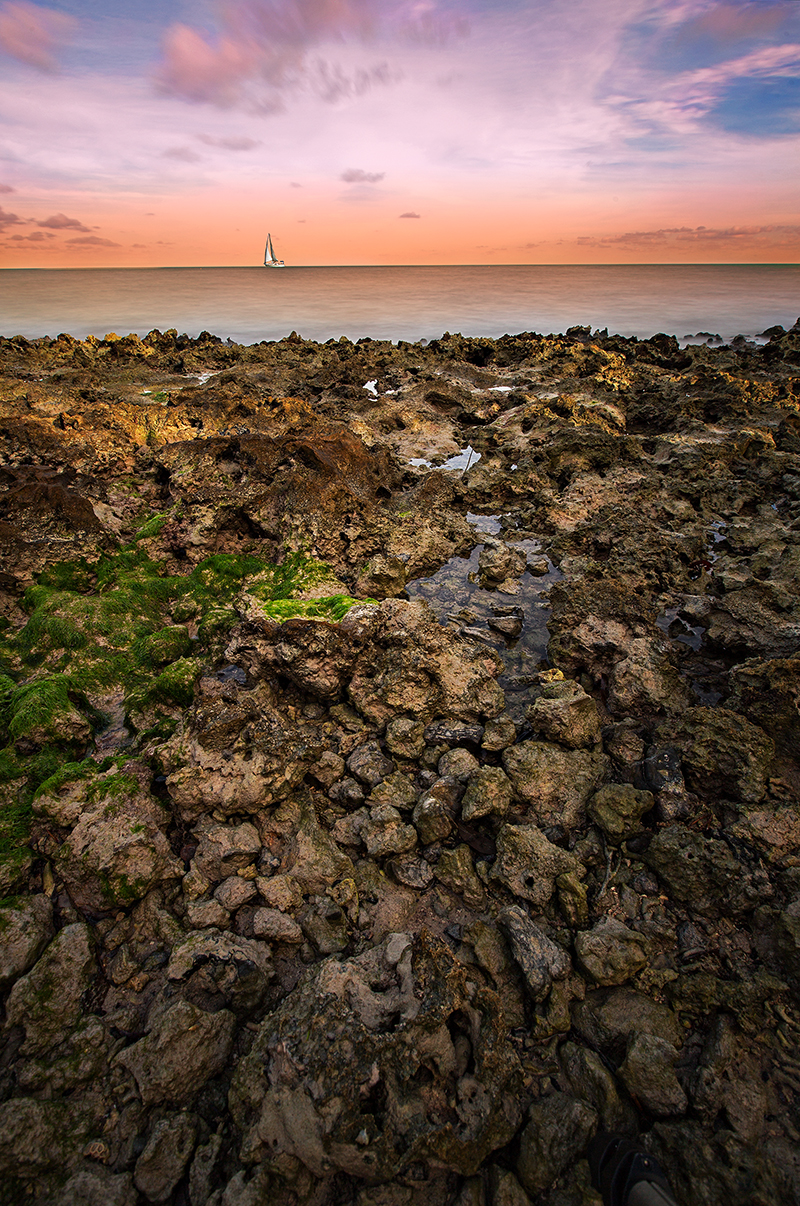
I managed to capture some great sunrises and sunsets thanks to the thin layer of overcast clouds that persisted for a few days and turned a vibrant color of pink and orange.  There were other images that I had envisioned but just did not have the right weather conditions or time to capture.

I found Biscayne Bay and Biscayne National Park surprisingly hard to photograph in a creative way.  Everything looks the same and 98% of it is water.  I found it very difficult to create a captivating subject or scene that was not just blue water and puffy clouds.  It did not help that I have not done much exploring in the Bay as I am sure photography opportunities exist I just need to find them.  The other issue I encountered is that it is hard to explore the shorelines without a canoe or kayak due to the very shallow waters and flats.

I love a challenge so even though my responsibilities to the Baynanza Calendar have concluded, I hope to continue trying to capture some captivating photos of the park and bay for my collection.

Snake Bight Boardwalk Sunrise Everglades National Park

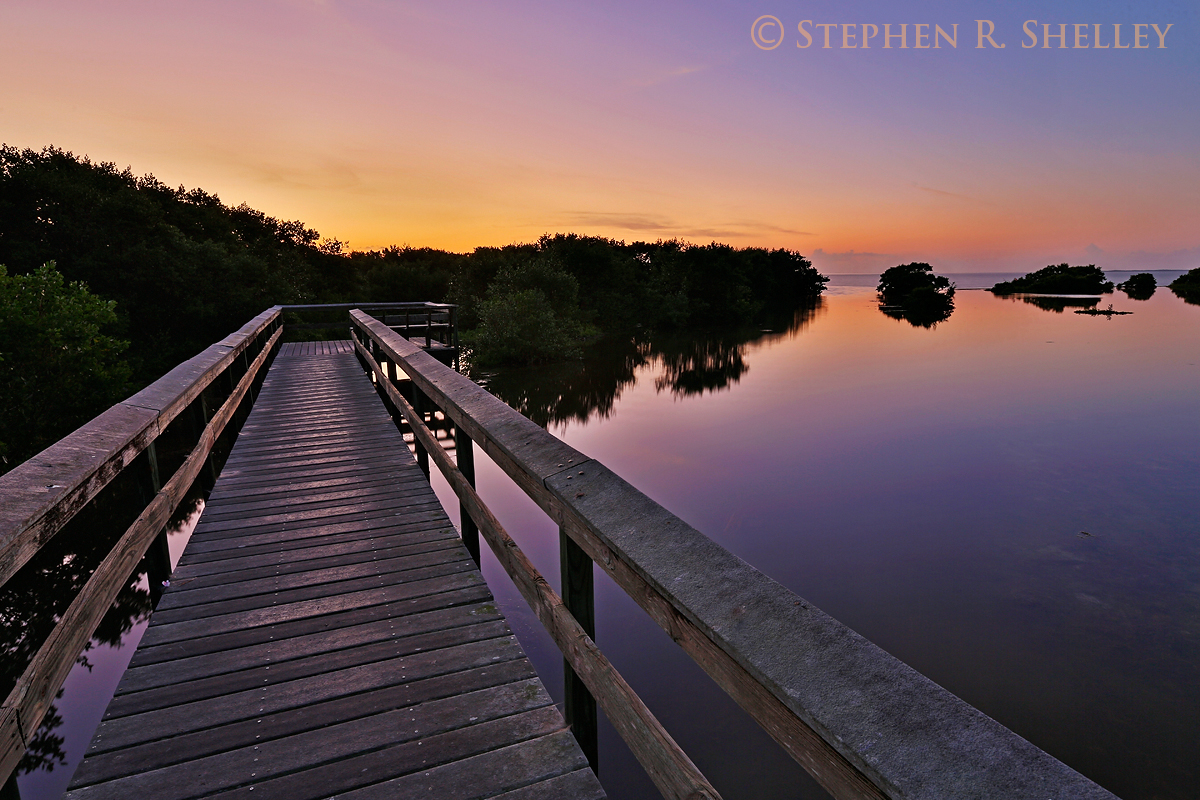
This morning a few members from the newly formed South Florida National Parks Camera Club took an early morning bike ride down Snake Bight trail in Everglades National Park.  The goal was to capture a sunrise over Florida Bay.  We left Homestead around 4:30 and arrived at the trial head around 5:30.  The trail is only about 2 miles long but at night in the dark it is much harder to traverse.  On this trip it was even harder than we anticipated due to the lack of maintenance and how overgrown the trail was.  In fact one of the members of our party encountered a fallen log that was not visible due to the high grass and fell off his bike.  No one was seriously hurt but he was definitely sore the rest of the day.

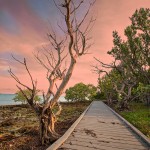
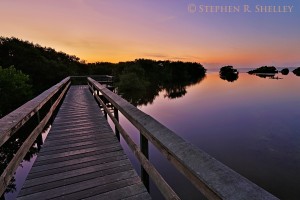
Eventually we made the Snake Bight boardwalk just at prime light.  I managed to capture a few images before the rest of the guys caught their breath and got their camera equipment set up.  As a result I was able to capture an image of the empty boardwalk and use it as a leading line toward the rising glow of the sun.  I was happy with the composition and colors in this image and will likely add it to my website collection.

Snakebight Boardwalk Sunrise


Geminid Meteor Shower 2014

A photographer friend and I decided on the spur of the moment to head out to the Everglades to photograph this years Geminid Meteor shower.  We knew the almost full moon would rise around midnight so we only had a small window of opportunity to watch and photograph natures fireworks display.  We started at Mahogany Hammock and worked our way down to Flamingo.

I am glad we decided to make the trip because this years shower was the best I have seen in quite some time.  It seemed that every few seconds one, two or even three meteors were streaking across the sky.  We even saw a few green fireballs.  It may have also helped that we found a new dark site that blocked out much of the light pollution from Miami and the Keys.

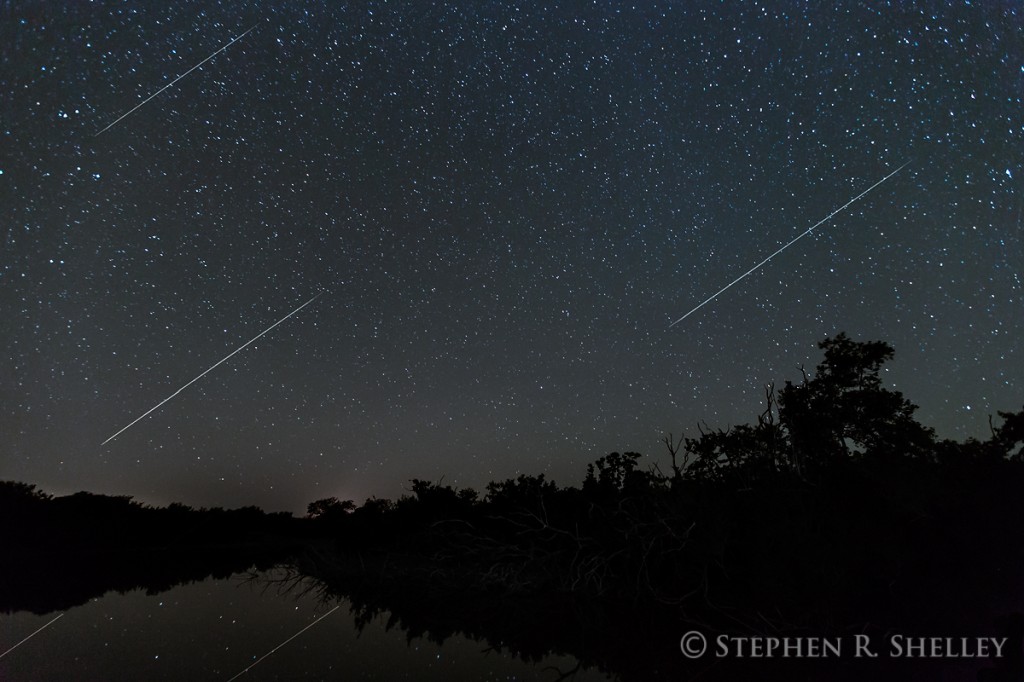
I had a great time but did not come home with a lot of keeper images.  However, I did capture one good long exposure image and combined my three best meteors into the same image to create a more dramatic effect.

Photography Equipment Insurance for the Semi-Professional Photographer

Unfortunately, for the semi-professional photographer, insurance options are costly and the return on investment usually non-existent.
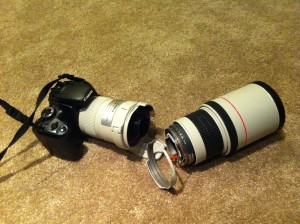
broken-camrea-300x224

Photography like many other hobbies can become very addictive and very expensive.  For the majority of us, when we first started engaging in photography our mantra was “I am just doing this for fun or to document family trips or growing kids.”  As a result, our equipment was usually entry level and moderately priced.

However, somewhere along the way most of us decide that we need better equipment and lenses to improve the quality of our work.  For some of us, this decision greatly improves the quality of our images, for others, the equipment was never the limiting factor to begin with, but that is a subject for a different blog post altogether.  Either way, the end result is a bag, closet or room full of expensive camera bodies, lenses and other accessories.  Consequently, that camera equipment that used to be valued around $1,500.00 has now ballooned and is now valued at $10,000.00 or more.  Therefore, the next logical question is should I start looking into insurance for my camera equipment?

Some people rationalize that it is not worth obtaining insurance because the cost to replace a dropped camera body or lens, although painful, is not necessarily cost prohibitive.  Most semi-professional camera bodies cost anywhere from $1,500 to $4,000.00.  Most standard professional quality lenses cost between $1,200.00 and $2,500.00 not including the more niche lenses used for birding/wildlife (Professional classified camera bodies approach $10,000.00 and some niche lenses also equal or exceed this number.  This article assumes that if you own these types of bodies or lenses that you are truly a professional photographer that likely carries insurance due to employment requirements.  However, the analysis set forth herein applies to those non-professionals that also own such equipment.)  In these instances it might not make sense to acquire insurance depending on an individual’s discretionary income levels and his/her ability to outright purchase replacement equipment and/or pay annual insurance premiums.

Now let me paint a different scenario that puts this analysis into better perspective.  I do a lot of landscape photography that takes me out into the wilderness or hiking through the swamps.  If you are like me, then I find that I bring as much of my equipment as my bag will accommodate.  I don’t want to miss a once in a lifetime shot because I did not have the right lens or camera body.  However, what happens when you get caught out in an unexpected rain storm, fall down in a gator hole or tip over your canoe.  Now you are not just replacing one camera body or lens but instead potentially replacing your entire collection of camera equipment.  For most of us, it took a good number of years to acquire our equipment; the prospect of trying to replace it all overnight is not practical and/or possible.
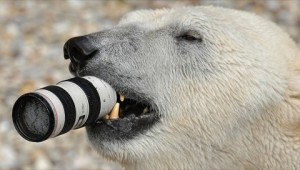
Polar-bear-vs-Canon-lens-1Landscape and wildlife photographers especially tend to enjoy nature and purchase their equipment for the sole purpose of hiking and exploring with it.  Consequently, leaving your photography equipment at home during your adventures is not an option.

Okay, so now that I have you thinking about protecting your investment in your photography equipment, what are your options and how much might the premiums be?

There are two (2) primary ways to acquire insurance for your photography equipment.  The first and cheapest method (option 1) is to add your photography equipment as a Personal Articles floater/rider onto your homeowner’s insurance policy.  The second method (option 2) is to acquire a separate stand alone insurance policy for a specified value of camera equipment.

Option 1 is only applicable to amateur/hobby photographers and their equipment.  It cannot be acquired by any individual that takes photos for commercial purposes.  Commercial purposes includes, but is not limited to, photo shoots whether studio or otherwise and/or the selling of prints including on sites such as smug mug or similar websites.  If you make one penny from your photography you will not qualify as a hobbyist or amateur, even if the income is sporadic or inconsequential.

If you add your photography equipment to your homeowners policy and fail to inform them that you sometimes make money off of your photography they will deny your claim if they later discover you use your equipment for commercial purposes.  There would be nothing worse than to have paid premiums only to have the insurance company deny your claim after your equipment has been damaged.  There are plenty of stories of individuals who have done just that.  In one instance, the insurance company discovered the website of the insured in which his photos were offered for sale.  The insurance company deemed that he was engaged in commercial activities and using his photos for commercial purposes and his claim was denied.

If you qualify for this option, make sure the rider you choose covers your equipment while being used or located outside of your home itself.  Some policies only cover your equipment if damaged while in your home and if caused by certain occurrences.  Therefore, make sure you read your policy and that you understand the coverage it provides.  The ideal policy is an all-risk policy and covers your photography equipment wherever it is being used for all damage except that which is specifically excluded.  Additionally, you want the policy to provide a replacement cost of the equipment usually established by a schedule attached to the policy and accompanied by serial numbers corresponding to the itemized equipment.brokencamera2
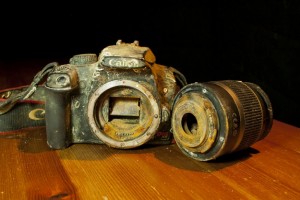
The cost to add your camera equipment to your homeowner’s policy is usually around $100 to $150.00 annually.  Many times these policies are also available with no deductibles.

One caveat to personal articles floaters on your homeowners insurance is that a filed claim for damaged camera equipment will technically be a claim made on your homeowner’s policy.  There is some risk that multiple claims could cause an increase in future homeowner’s insurance premiums.

Option 2 requires the purchase of a separate policy, usually an inland marine policy or photography business specific policy.  The cost of these types of policies is determined by a cost multiplier that is applied to the total value of the equipment insured.  The average is somewhere around $2.00 per $100.00 of value.  Therefore, insurance on $15,000.00 worth of equipment would be around $300.00 plus any other fees or other coverage that may be assessed by the insurance carrier.  These types of policies normally have a deductible that averages between $250-$500 per claim.  Just like in the homeowners policy above it is important to read the policy and make sure you understand under what circumstances your equipment is covered and how the equipment is valued for replacement purposes.  The best coverage is all-risk replacement cost coverage.

Other policy terms to look over thoroughly are how your chosen policy covers theft and/or mysterious disappearance coverage.  Camera equipment left in an unlocked car may not be covered, whereas if the car is locked it usually is covered.  Also, if you get caught up in your photography and leave your bag behind is the equipment covered if missing when you return?  Some policies will say yes, others no.  In all cases police reports usually have to be made and filed for any chance at coverage.

At this point you should understand what policies are available to you.  Now a few important decisions must be made by you the semi-professional photographer.  The first decision is do you need insurance based on the value of your equipment, your personal level of risk aversion and your available discretionary income to replace equipment that might become damaged?
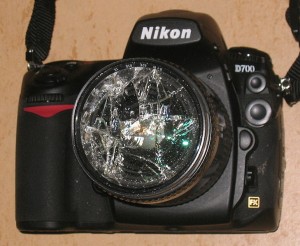
broken camera 3If you decide that you do need insurance for your camera equipment, the second decision to be made is do you make enough income off of your commercial photography activities such that it is worth paying an annual insurance premium of $350.00 or more?  If the answer to this question is yes then you will need to acquire a separate inland marine policy or photography specific business policy for your equipment.

If the answer to this question is no, then you likely need to reconsider engaging in any commercial photography activities so that you can qualify for a cheaper Personal Articles Rider to your homeowners insurance policy.  Is it really worth paying an extra $200.00 plus dollars a year just to list your photos for sale on a website that results in only a few dollars worth of sales a year?

Unfortunately, for the semi-professional photographer neither insurance option is really an ideal choice.  It would be great to have a low cost policy available that also lets you dabble in commercial photography activities (such as dollar value threshold of sales/photo shoots a year).  Unfortunately, no such policy currently exists to the mass public.  To assist you in choosing between the insurance options that are currently available I have provided additional information below.

While researching this topic I came across this useful chart  that outlines the major options for photography insurance including insurance provided as a result of joining various photographic associations.  The chart was produced in 2007 and some of the links do not seem to work but the basic guidance is still relevant and useful as a starting point in your search for insurance.  The cheapest, but not necessarily the best, insurance coverage from the chart options is through PPA (see discussion below).

A quick discussion about insurance obtained through the Professional Photographers of America (PPA).  Those persons joining PPA are entitled to free insurance coverage for up to $15,000.00 worth of photography equipment.  The cost to join PPA is $273.00 per year.  There is a $250.00 deductible for the first loss and it increases for each claim up to a max of $750.00.   The coverage is not replacement cost, instead its cash value which is determined by a depreciation schedule.  The value is determined by the production year (different than year you purchased the equipment) minus the current year plus one.  Depreciation is 25% per year for a maximum depreciated value of 80%.

Example:  You purchase a Canon 5DIII in 2014.  The camera purchased was produced in 2013.  You drop your camera causing irreparable damage in 2017 (3.5 years later = 80% depreciation).  The insurance company would cut you a check for $450.00 ($3,500 x 80% yields $2,800; $3,500 – $2,800 = $700.00-$250.00 deductible = $450.00) to purchase a replacement camera.

Good Luck.  You might be able to afford a used Rebel for that amount in 2017 but not another Canon 5d III or its equivalent.  Remember you also paid $273 for three years representing the insurance premiums.  You are now upside down $369.00 ($273.00 x 3 = $819.99 – $450.00 = $369.00) and you still don’t have a replacement camera.  You can now see why replacement coverage is so important and why PPA insurance is not really worth having.  Join PPA for the other services not for the insurance.
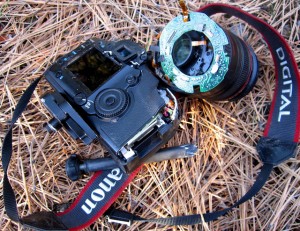
brokencamera

You can purchase additional insurance through PPA and some of the other photographic societies but these are just re-branded polices through other brokers or insurance agents.  It would be more cost effective to contact the brokers or companies directly rather than go through PPA or other photographic society.

Another option for insurance is offered through the photography forum photo.net.  Photo.net has negotiated a group insurance rate through a third party insurance company.  They have two options, liability only and equipment plus liability.  Unfortunately, they do not have an equipment only option otherwise it would be time to celebrate for the semi-professional photographer.

Instead, to obtain their equipment coverage the cost is $175.00 for the general liability coverage plus $150.00 for $15,000.00 worth of equipment coverage plus $25.00 for the photo.net membership.  The total cost to obtain equipment coverage is now back to $350.00, the same as a standalone insurance policy with a standard insurance company.  Granted you get more for your money with the photo.net coverage because is also includes general liability, but the semi-professional photographer is not usually in need of, or interested in obtaining liability insurance.  The equipment coverage is replacement cost coverage (all risk) with limited exclusions.

I hope I have helped educate you, the semi-professional photographer, on the pitfalls of obtaining photography equipment insurance and given you a starting point on your frustrating journey.
Haida Slim Multi-Coating Pro II 10 Stop Neutral Density Filter

Long exposure daytime photography has always been a technique that I have wanted to add to my bag of tricks.  Unfortunately, I always found the price of a 10 Stop Nuetral Density (ND) Filter to be cost prohibitive, especially considering I was not sure I would like the effects it produced or, that I could find enough situations to make the investment worthwhile.  That was until I stumbled across a forum post about a brand of ND filter that was relatively low cost and still produced quality images.  That brand was Haida.

Haida filters are made in China and are not carried by any photography retailer that I am familiar with either locally or online.  The only way to purchase one of these filters is through ebay or amazon.  After hours of researching and looking at sample images I decided to roll the dice and ordered one from Amazon.com for the low price of $88.00 shipped.  All reviews and discussions had nothing but great things to say about the Haida Pro II 10 Stop Filter.  To my surprise my filter arrived 3 days after I placed the order.

Prior to purchasing the Haida ND 10 Stop Filter, the two things I was most concerned about was color cast and the effect of the filter, if any, on image sharpness.  I can report that neither is a problem.  The Haida ND 10 Stop Filter produces very little if any color cast.  Using the camera’s auto white balance may sometimes produce an ever so slight cool cast, but unless you compare an image taken with the filter with one taken without the filter side by side you would not notice any negative effect on the captured image.  Any color cast/shift can easily be corrected with the temperature slider in Photoshop or other RAW image editor.

Some 10 stop ND filters produce a very strong color cast that causes the resulting image to be a hue of blue or tan depending on the brand of filter.  Some filters create a stronger color cast than others.  A strong color cast can be very difficult to remove in post processing and can render the filter useless for producing wall hanging images.  Therefore, I am very happy that the Haida ND 10 Stop filter I purchased has virtually no color cast that is visible to the naked eye.

I have attached 4 images I took to test the color cast of the filter.  Two of the images were taken at f/10 one with the filter and one without.  The remaining two images were taken at f/22, again one with the filter an one without.  In regards to color and white balance I cannot visibly see a difference between the four (4) images.  The image taken with the filter at f/22 was a thirty (30) second exposure.  The images were taken at around 12:30 in the afternoon with unimpeded sunlight on a windy day (thus the blurry tree branches and leaves).  I used my Canon 16-35 f/2.8 ii lens.

The second issue I was concerned about was the effect that the filter would have on the sharpness of the final image.  In the photography world, typically you get what you pay for.  Therefore, I was concerned that a cheaper filter would use inferior glass that would ultimately degrade the image.  It makes no sense to spend thousands of dollars on high quality lenses to only place low quality glass or plastic filters on the end of them.  Expensive lenses plus cheap filters usually lead to subpar images.

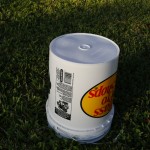
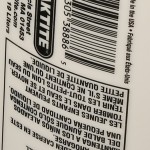
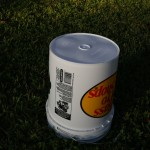
In the case of the Haida ND 10 Stop Filter, there was no effect on the final image.  The images captured with the filter and without the filter were identical in terms of sharpness.  I have attached 100% crops of a bucket I used as a test subject to see the effect the filter would have on the image quality.  Both shots are equally sharp to the naked eye.  The two shots were taken at f/11, one with the filter and one without the filter.  I again used my Canon 16-35 f/2.8 ii lens.  The image with the filter was a 10 second exposure.

I would highly recommend this filter to anyone looking to purchase a 10 Stop ND Filter.  I researched other brands before purchasing the Haida.  Many of the other well known brands had issues with color cast or the ones that did not have color cast issues were much more expensive than the cost of the Haida.  The only unknown for me is the durability of the filter and will it stand up to the elements a landscape photographer like myself will expose it to.  I believe the answer is yes but only time will tell.  The filter feels solid in my hands.  The filter ring is made from aluminum so it is also element resistant and lightweight.  Even on the slim version the standard Canon lens cap will still attach to the lens with the filter on.

I purchased my filter through Amazon.com.  The seller was GoShot Camera located in California.  The filter arrived earlier than originally projected and was well packed.

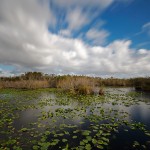
Two real world test shots taken out in Everglades National Park.  It was a very windy day but the 10 Stop Filter rendered the water smooth and added motion to the clouds to give a very dull composition wise photo some interest.

All images in this post were straight out of the camera.  Click on the thumbnails to see the full size image.

2014 Homestead-Miami Speedway Ford 400 Sprint Cup Championship

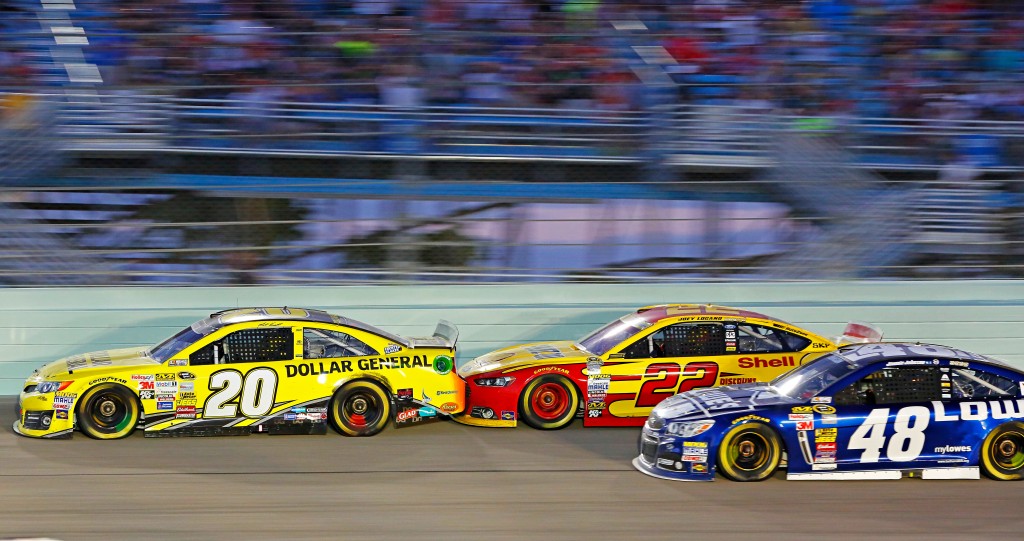
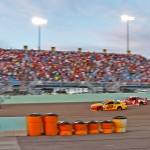
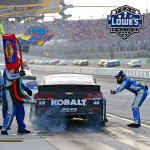
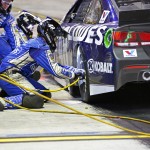
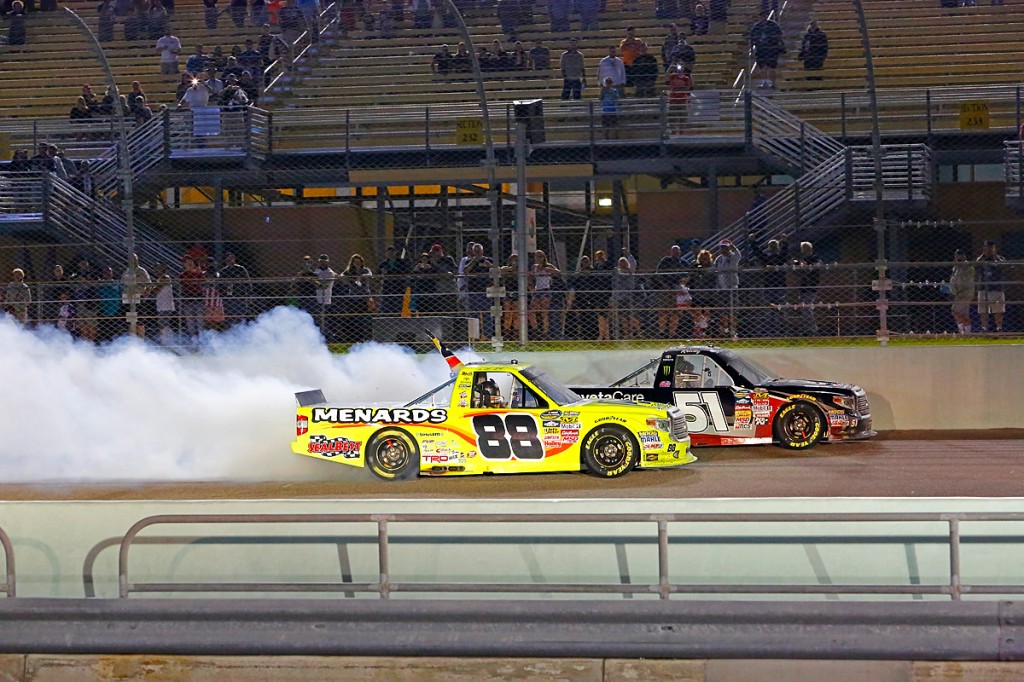
The 2014 Ford 400 Sprint Cup Championship race at Homestead-Miami Speedway was one the of the best races I have witnessed over the last 10 years at the track.  There was a lot of excitement and electricity going into the final race this year and it did not disappoint.  This was also the first year I was able to use my new Canon 5D Mark III camera to shoot motorsports.  Compared to my old T3i it was like night and day.  The autofocus was much faster and therefore easier to track the cars as they flew by at 200 mph.  Also, the ability to shoot at higher ISO’s without photo degradation was also much nicer.  Last year the highest I would dare shoot was 1600, this year many of my shots were 4000 and looked cleaner than last years shot at 1600.  Here a few photos I captured at this years event.