Palm Island Cape Haze, Florida

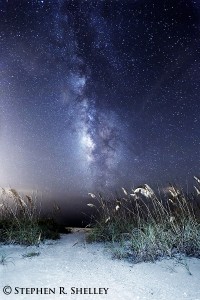
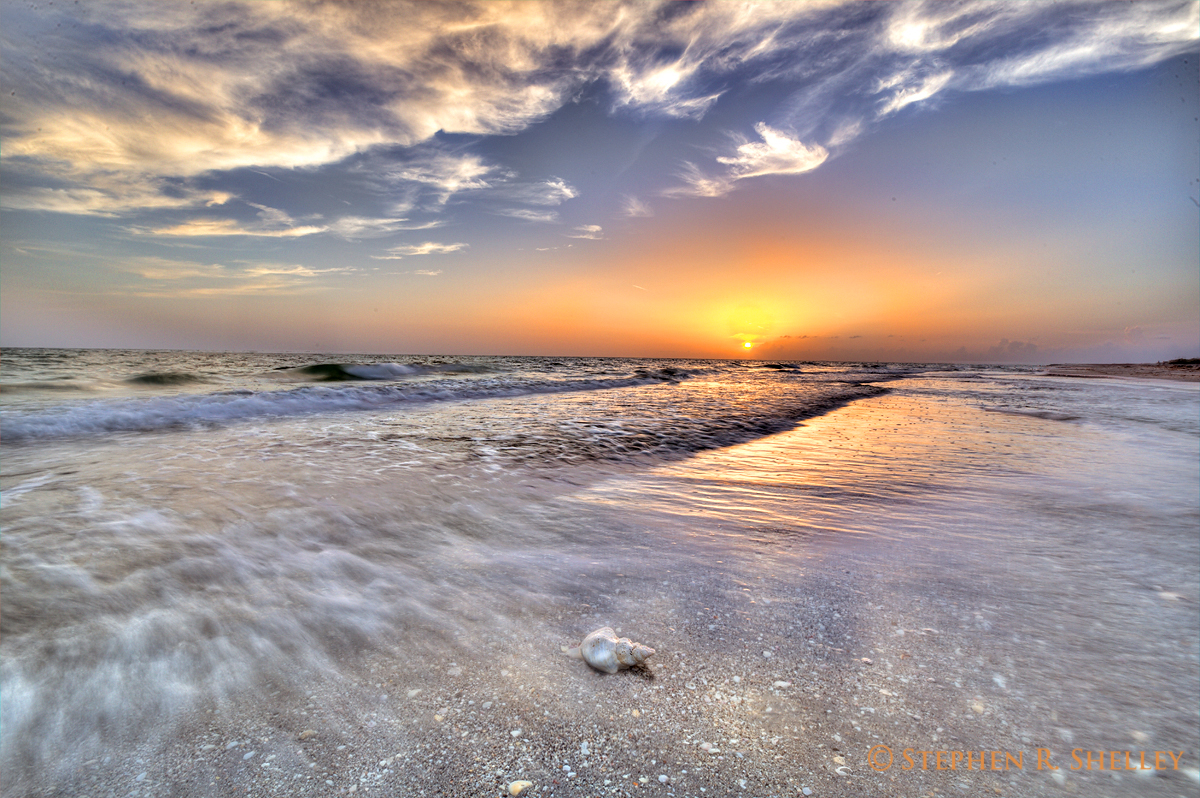
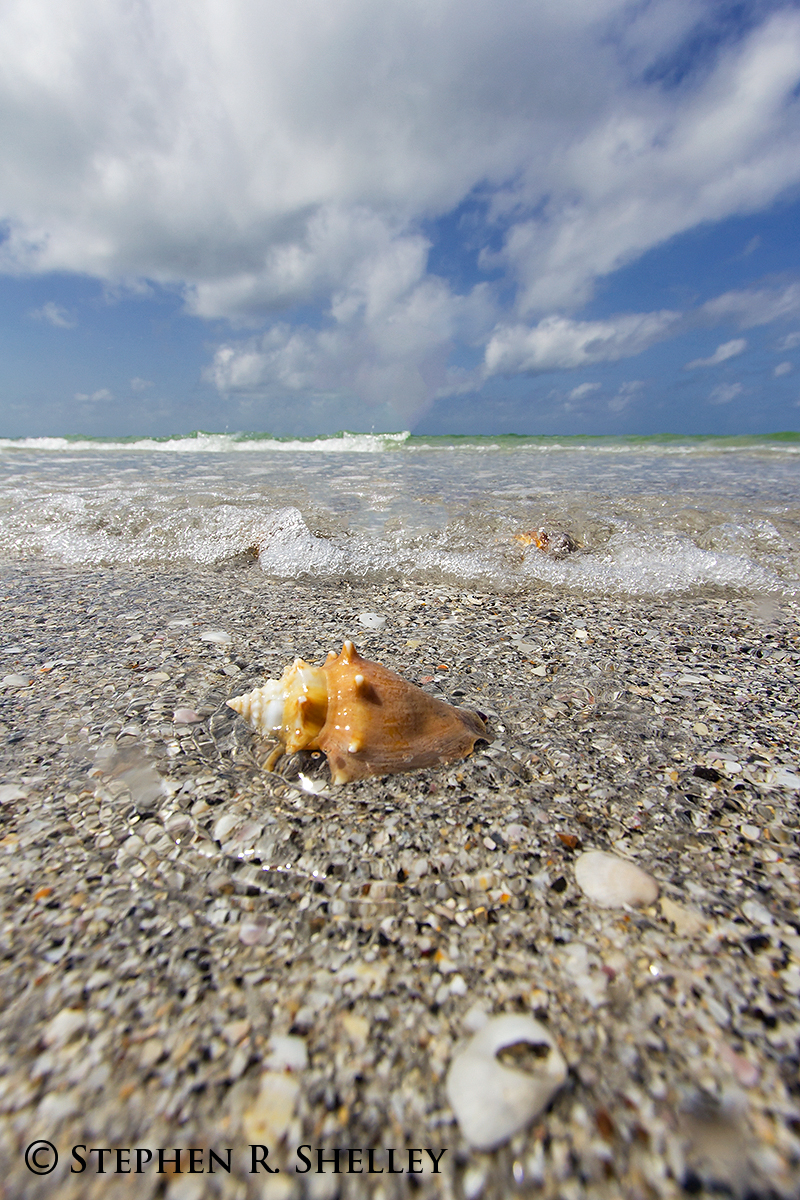
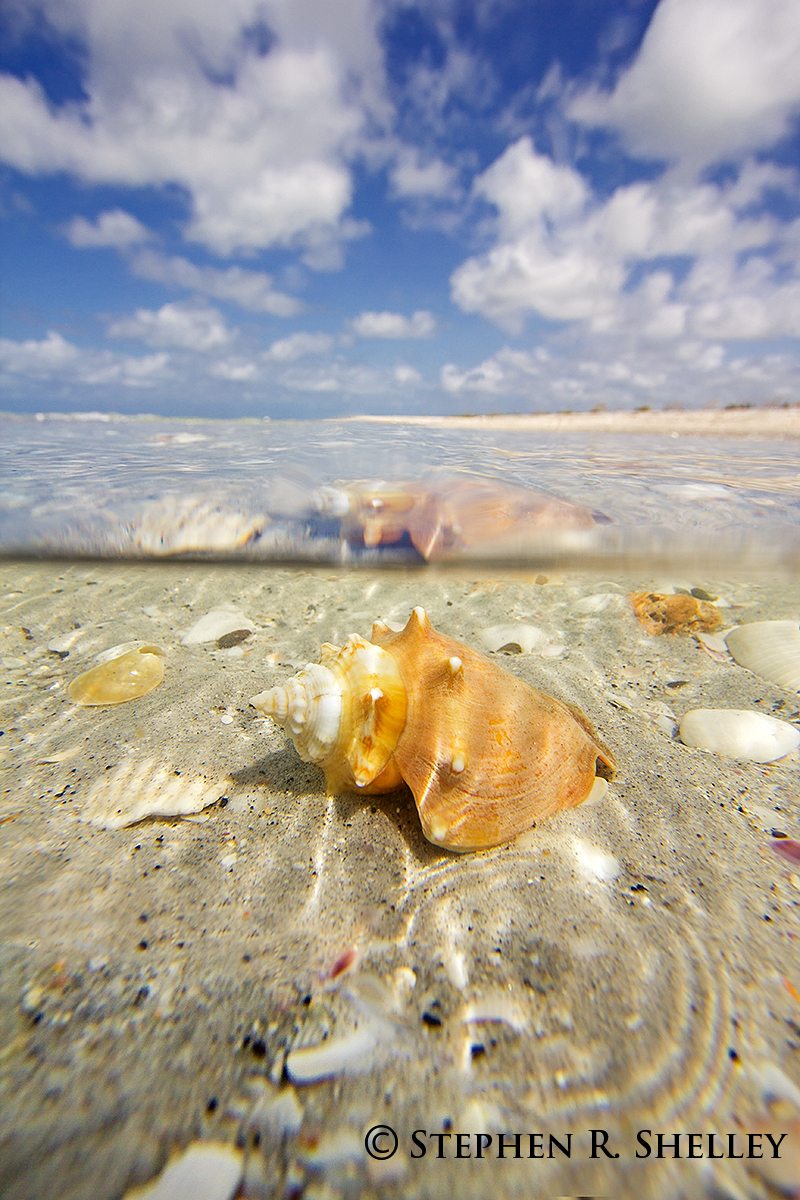
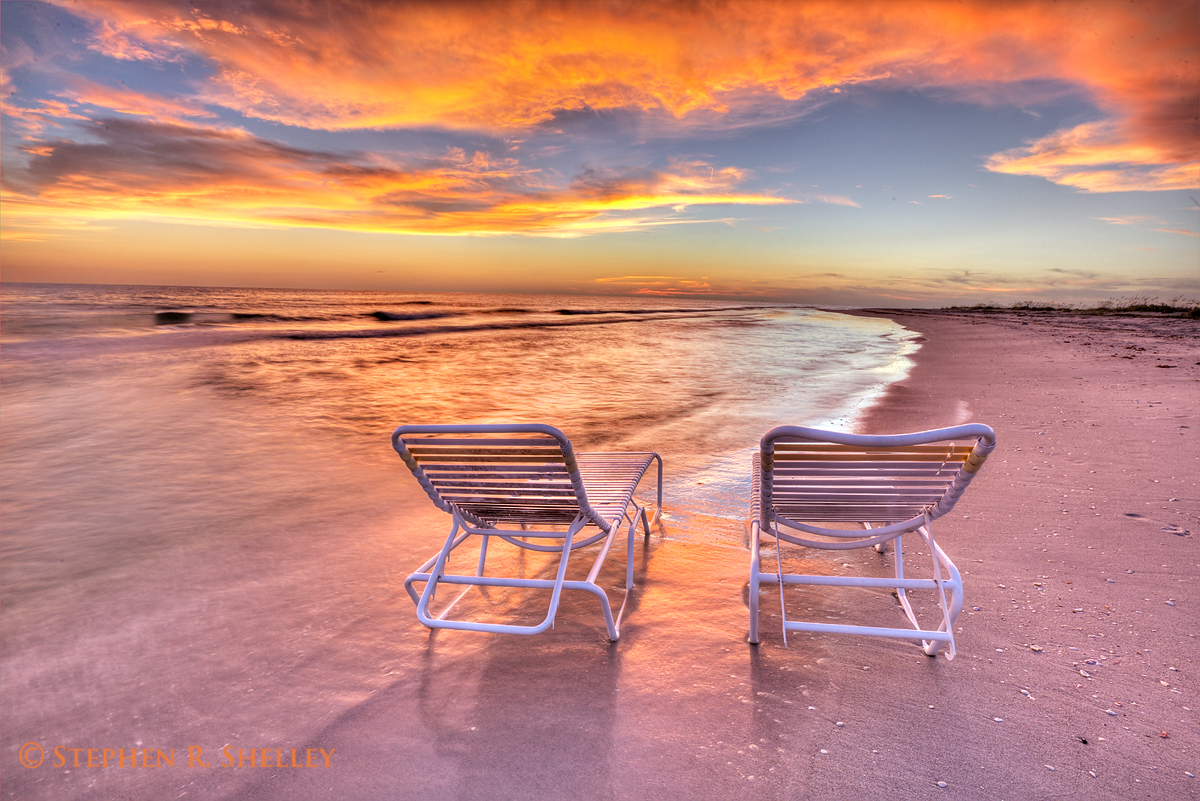
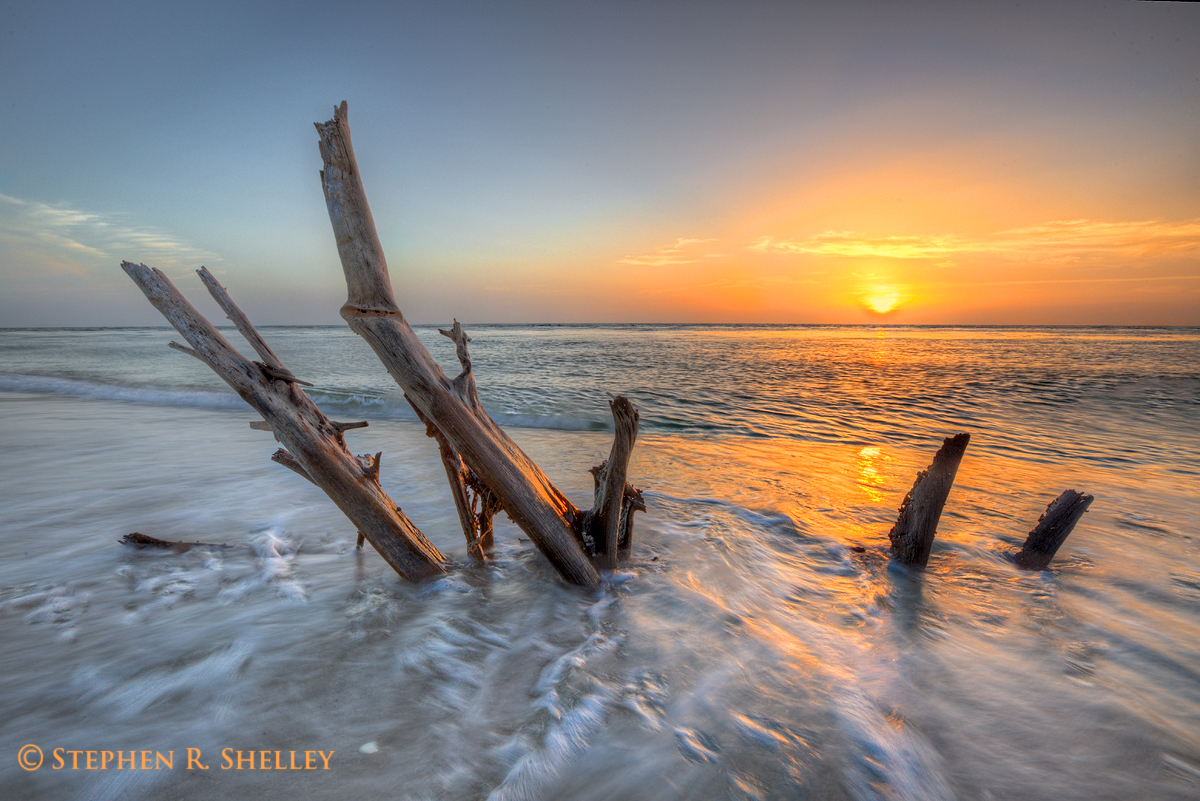
This year my family and I took a much needed vacation to Palm Island Resort in Cape Haze, Florida. Palm Island is a beautiful and quiet destination with miles of undisturbed beaches and plenty of sea shells. I brought my camera with the hope of capturing some vivid west coast sunsets. The first 3 days or so did not cooperate with cloudy and raining skies. However, the last few days made up for the first few days with some great sunsets.

The only problem I had was trying to compose the shots with something interesting in the foreground so that the image would be more dynamic. I had to get creative as nothing jumped out at me. To make it harder I was also trying to keep an eye on my one year old while trying to set up my shot. All in all I am happy with the results.

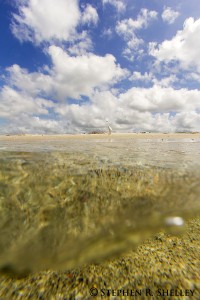
On this trip I also had an opportunity to use my Outex cover some more. I really like this cover as it gave me the opportunity to create some unique photos that would have been impossible without it. I am still figuring it out but I am making progress.

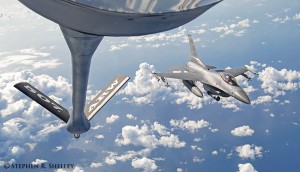
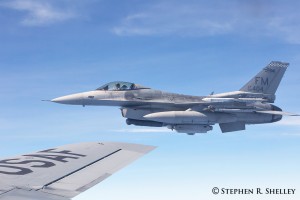
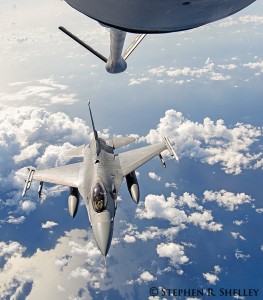
KC-135 Stratotanker Mid Air Refueling of F-16’s

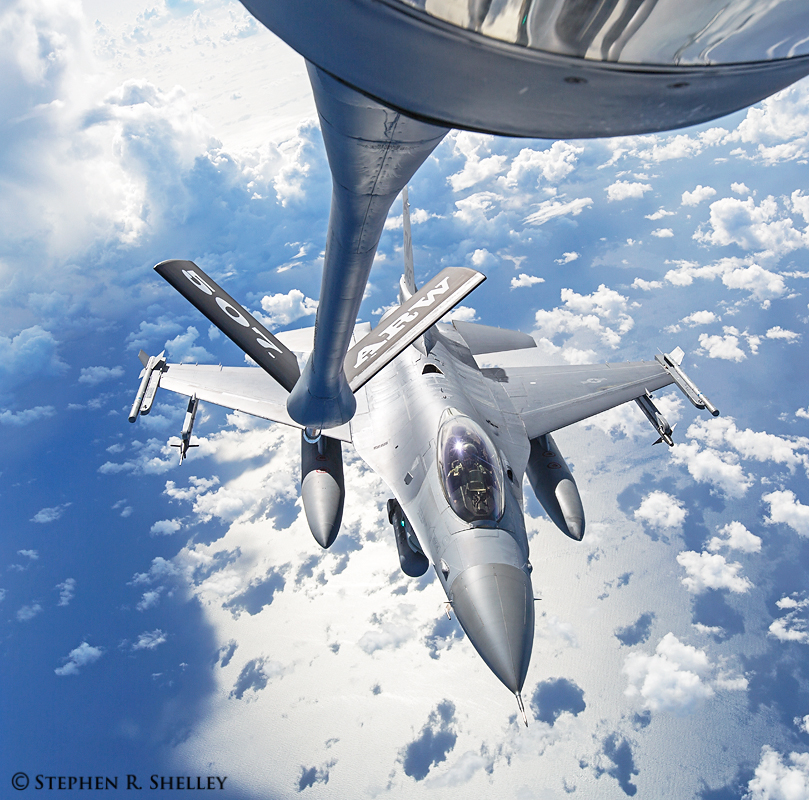
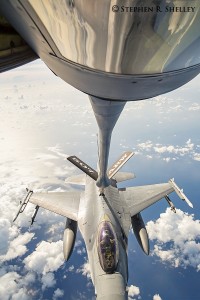
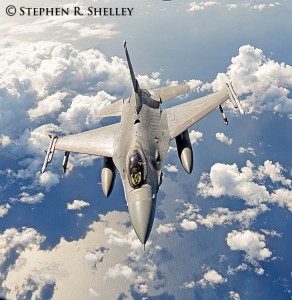
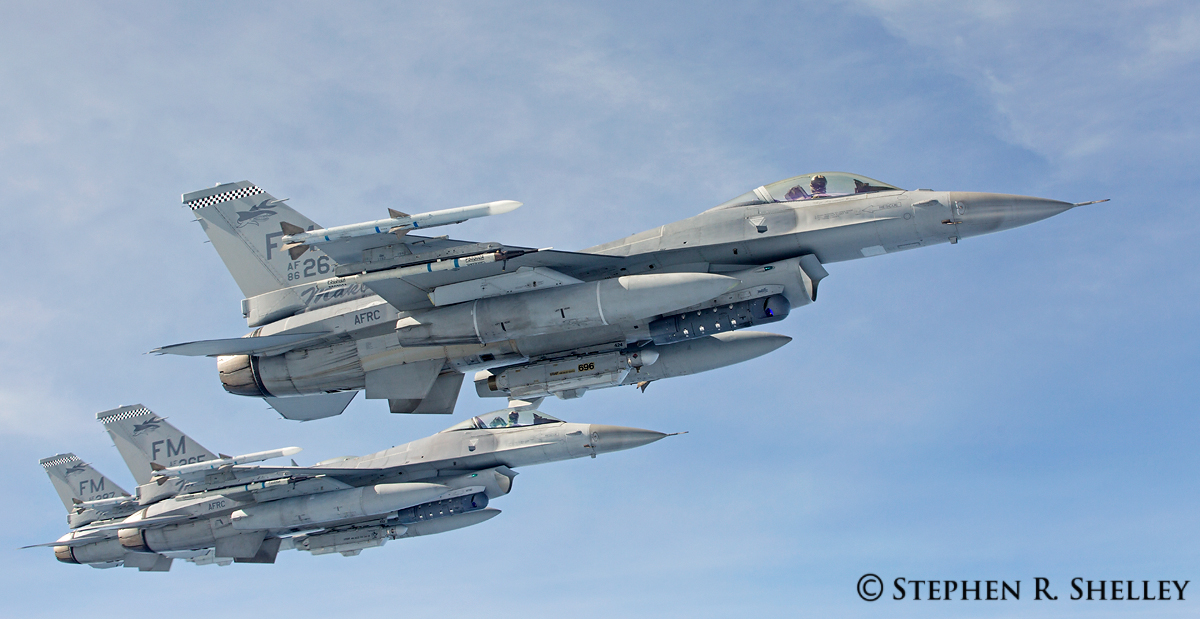
I had the opportunity to fly in a KC-135 out of Homestead Air Reserve Base this past week on a training mission to refuel F-16’s over the Gulf of Mexico. The F-16 MAKOS from 482nd Fighter Wing out of HARB were participating in simulated dog fights and training exercises as well as mid air refueling.

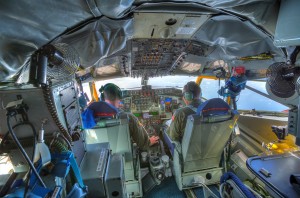
The KC-135 only has 4 small windows in the side of the plane. Two on the front doors on either side of the wing and two toward the tail of the plane. This made it difficult to frame my shots as there were not many viewing options in addition to not much room to work with without getting the edge of the window in the viewing frame. Also, like most airplanes the windows are made from a thick acrylic that has various scratches across its surface. I was afraid this would have an effect on the image quality but except for a few images, the final product was not really affected.

In the belly at the back of the plane is a space for the Boom Operator. The Boom Operator is responsible for lining up the approaching aircraft and successfully mating the boom (fuel hose) with the fuel receptacle on the airplane. To accomplish this their is a medium sized window at the rear of the plane just below the boom for the operator to look out of and gauge the distance to the plane to be refueled. Their is space on either side of the operator for other workers, or in this case observers, to watch the refueling process. This is also the only space available to try and capture a photo of the approaching F-16’s. Once the F-16’s are connected to the boom they are so close that their nose cone is located below the window and therefore out of sight of the camera’s lens. During the fueling process the plane was less than 30 feet from the back of the KC-135.

Each F-16 only took 2-3 minutes to fill up their tanks before disengaging and moving out of the way for the next F-16 to arrive. Prior to refueling, the F-16’s would stack up on the left side of the plane and then one by one drop down to refuel. After refueling, the pilot would then move to the right wing and stack up waiting for the other planes. All of this was taking place at around 34,000 feet and nearly 500 knots.

One thing I noticed was that each time a plane successfully attached to the boom the entire plane would sink and lose altitude for a few seconds before leveling back off.

For the refueling, I chose to use my Canon 16-35 f/2.8 II lens to ensure that I could capture the entire plane and some of the surrounding landscape. This required me to reach all the way up to the window to ensure that I did not get any glare from the window and also did not capture the inside of the airplane. For the side window shots over the wing I used my Canon 70-200 f/2.8 II to allow me to get tighter crops on the planes than I could capture with my wide angle lens. I shot in aperture priority to ensure my depth of field was sufficient to capture the entire plane and boom in focus. It was a very sunny day, especially at 34,000 feet so I had plenty of light to work with.

On the way back from the training exercise I was able to sit in the cockpit on approach and while landing. It was a very unique experience both educationally and photographically.
Keeping Lens Filter From Binding Onto Camera Lenses

I frequently use lens filters with my lenses for my landscape photography such as circular polarizers, neutral density filters and step up rings. Inevitably they always seem to get stuck on my lenses at the most inopportune time. I then spend the rest of my photo shoot trying to get the lens off or, if I just leave it on and try to work around it, frustrated that the lens filter is stuck.

Luckily, I have always eventually been able to remove the stuck filter. The same cannot be said for some other photographers I have spoken to. Some of them have had filters on their lenses that have been stuck for years. After the most recent occurrence I started thinking there had to be some way to keep this from continuing to happen. After spending some time researching I finally found a solution that works and thought I would pass it on to my fellow photographers.

From my research there were two (2) primary approaches to keeping lens filters from remaining stuck in perpetuity. The first was using tools to remove filters after they were stuck, the second was taking preemptive action to keep them from getting stuck in the first place.

For removing already stuck lens filters it seems the best tool for the job is a lens filter wrench. These cheap accessories apply equal pressure to the filter and from all accounts easily remove the filter from the lens. The lens wrenches usually come in packs of two (2) and can be had for less than $10.00 at your local photo supply store. Even if you take preemptive actions it is not a bad idea to own and carry this item with you on your photo excursions.

To keep lens filters from becoming stuck in the first place, the best solution is to use good old pencil lead. Turns out pencil lead is primarily made from graphite. Graphite is a great dry lubricant and does not cause a mess, smear on the lens or attract additional dirt and grim that is likely to cause the lens to get stuck even more frequently. Without getting into to much detail, pencils are labeled based upon the level of graphite they contain. The softer the lead the more graphite it contains. The softest pencil available is a 9B the hardest is a 9H. These pencils are typically only found at your local hobby store. However, many people use the standard No. 2 pencil as well. Here is a link to a more detailed explanation of pencil hardness http://www.cultpens.com/pencyclopedia/lead-hardness.
For me I went to my local hobby store and picked up a 6B which happened to be the softest they had in stock at the time. When I got home I proceeded to rub the lead on the threads of my lenses and my filters. I then blew off any excess powder than did not stick to the threads. I am happy to say that I have not had any stuck filters since taking this preemptive action. I also now carry a lead pencil in my photo bag with me and occasionally add a new layer of lubrication to the filters.

Milky Way Landscapes Everglades National Park

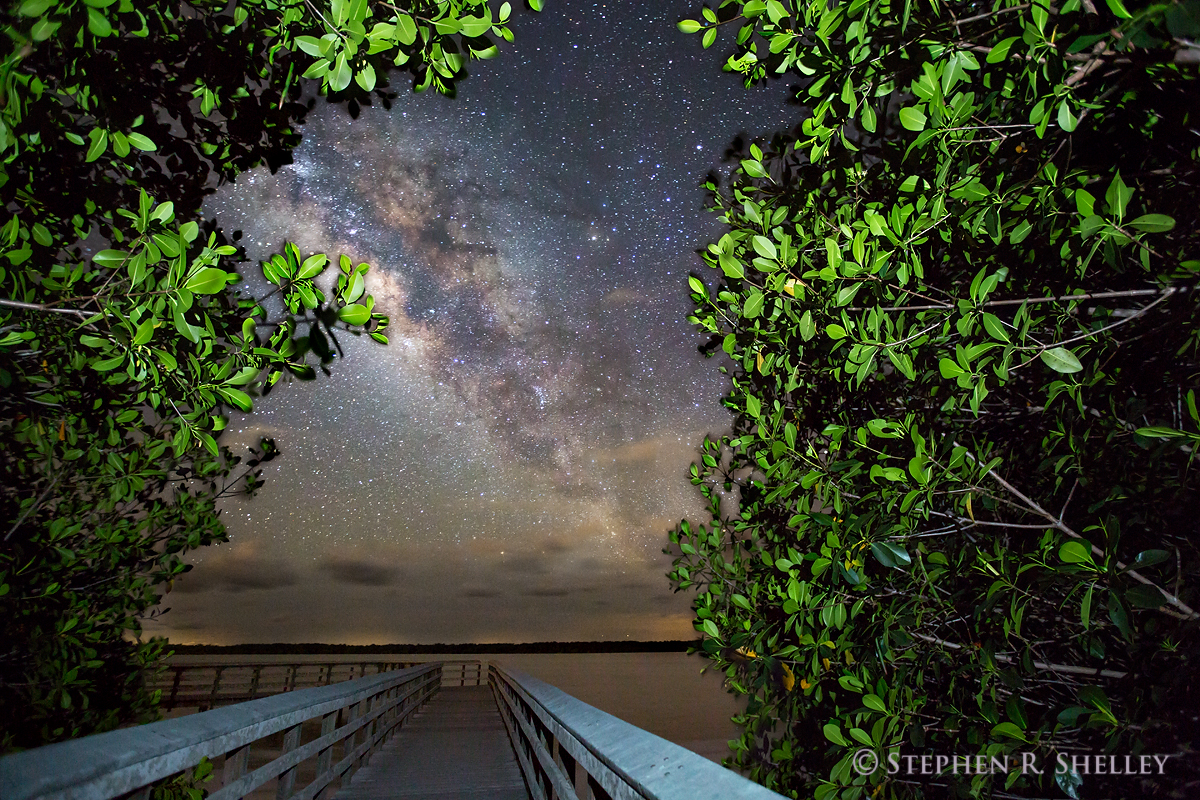
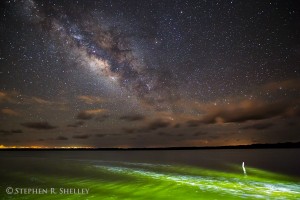
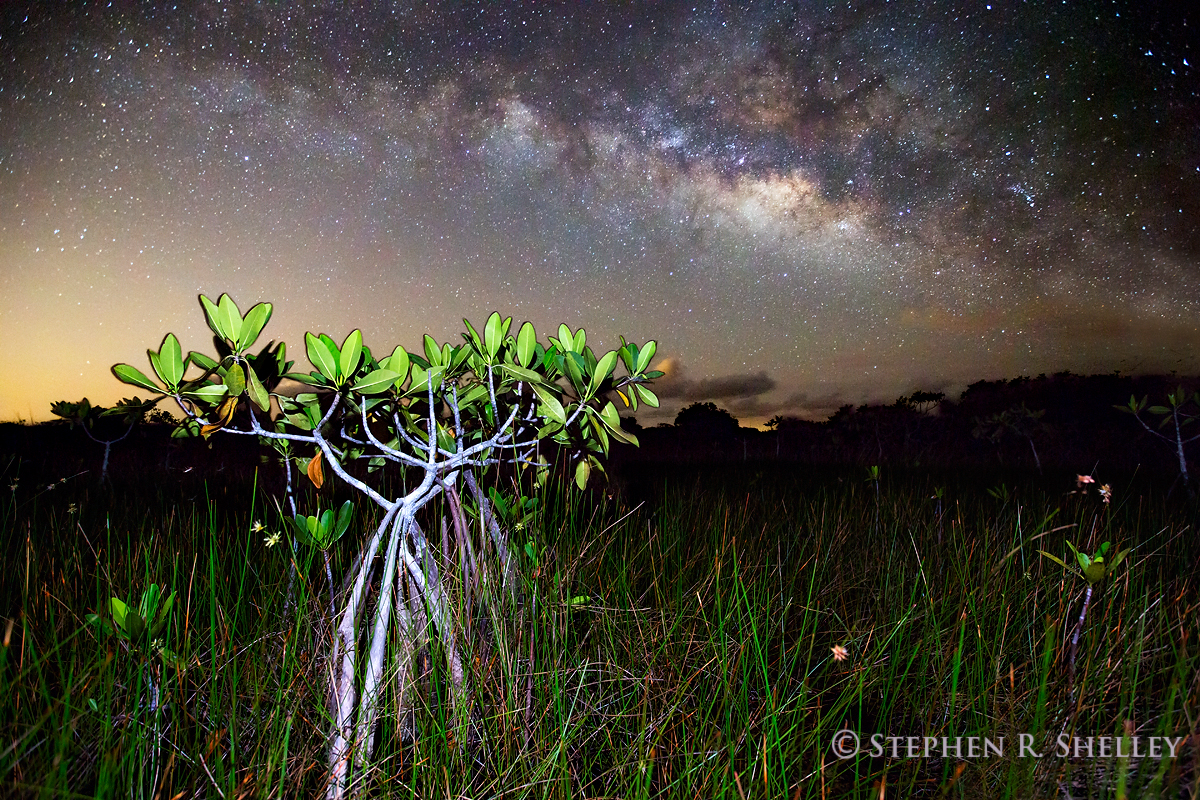
I took advantage of the new moon last week to head out to Everglades National Park to try my hand at capturing some unique Milky Way Landscape shots. Everglades National Park is one of the few dark sites here in South Florida where one can actually see the Milky Way with the naked eye. I wanted to try and use the Milky Way to compliment the overall scene.

To accomplish this I took two (2) photos with an aperture at f/2.8. One focused on the foreground subject and the second focused on the night sky. I then combined the two (2) images together to ensure that both my foreground subject and the Milky Way were sharp and in focus. The exposure times were around 25 seconds. I used a handheld flash to illuminate the foreground during the exposure.
Click on Thumbnails for full image.

Everglades National Park Thunderstorms June 2015

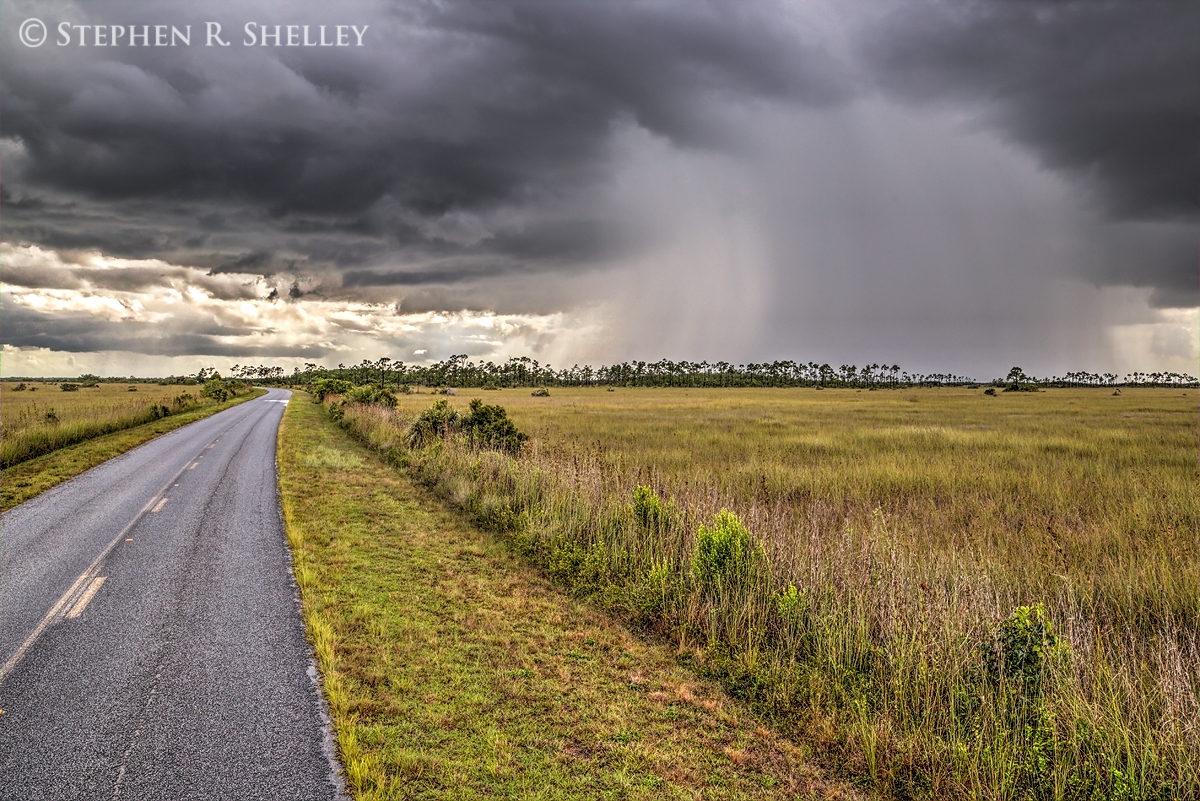
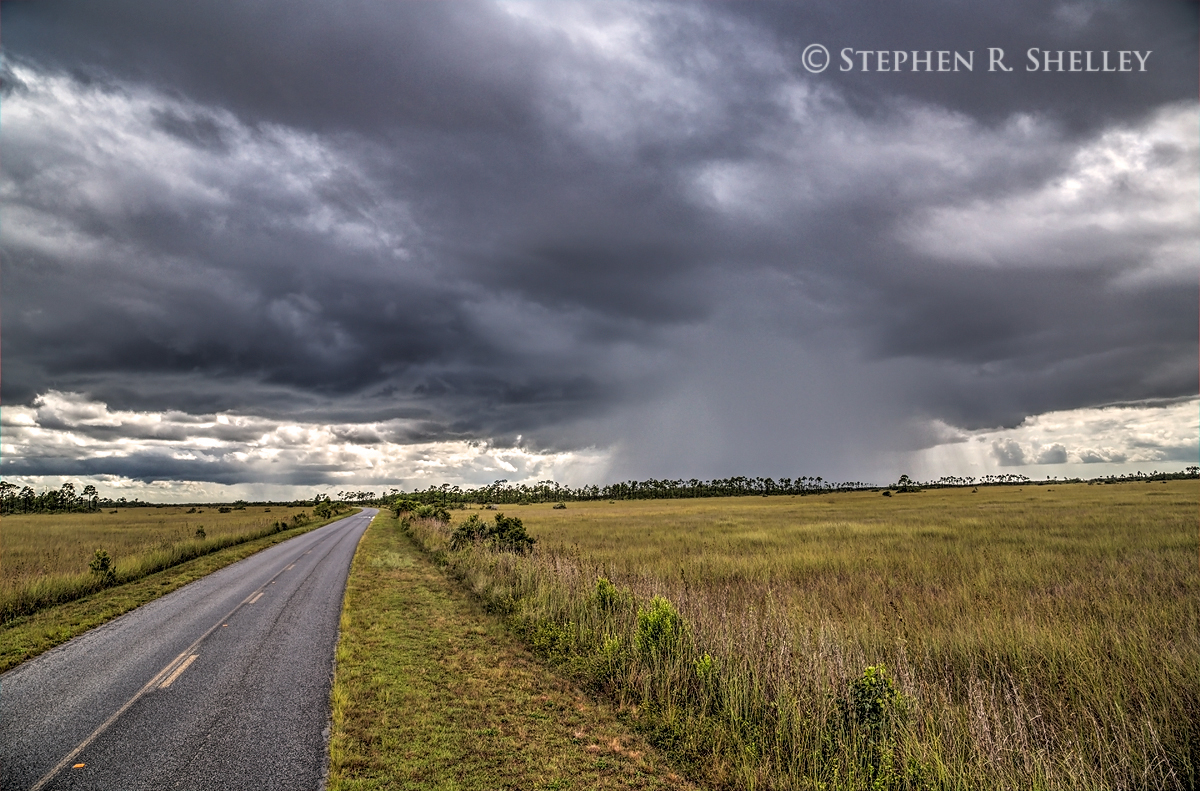
June is typically the wettest season in South Florida which also means one of the best times to chase thunderstorms. Unfortunately, this year has been very dry and the thunderstorms have primarily been rain showers. On my last trip out to try and shoot lightning I only managed to capture some nearby solitary rain showers and dramatic clouds. Although I still liked the resulting dramatic images, they would have been much better had I also had a bolt of lighting in the field of view. Hopefully, the storms will become more plentiful as the summer goes on.

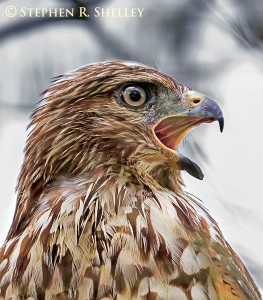
I also manged to capture a close up image of a screeching hawk just prior the storms arrival.

Highland Hammock

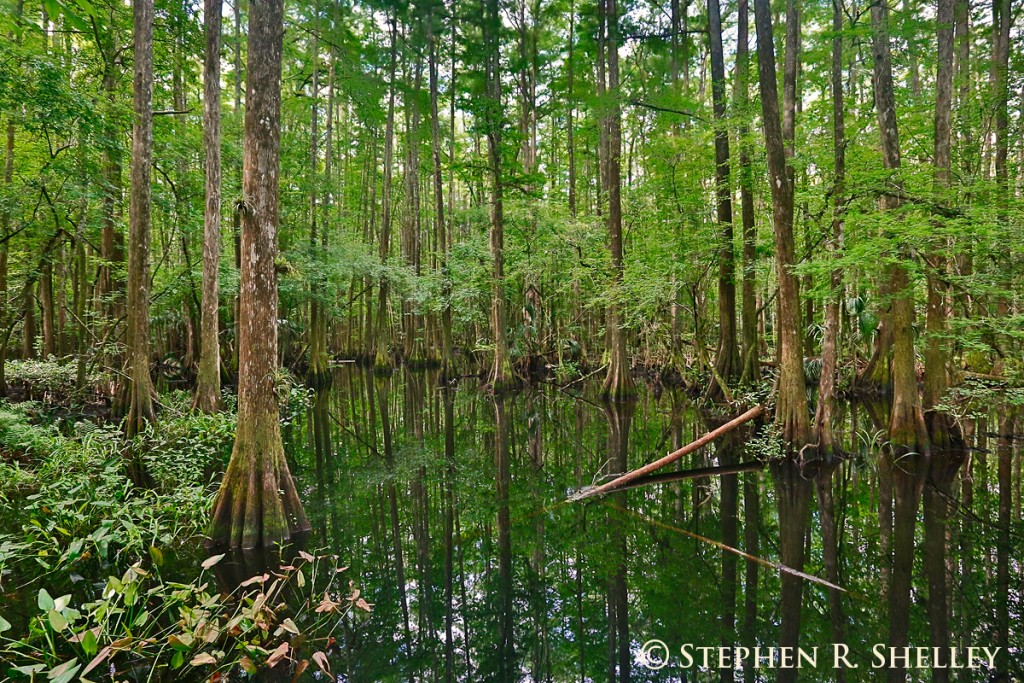
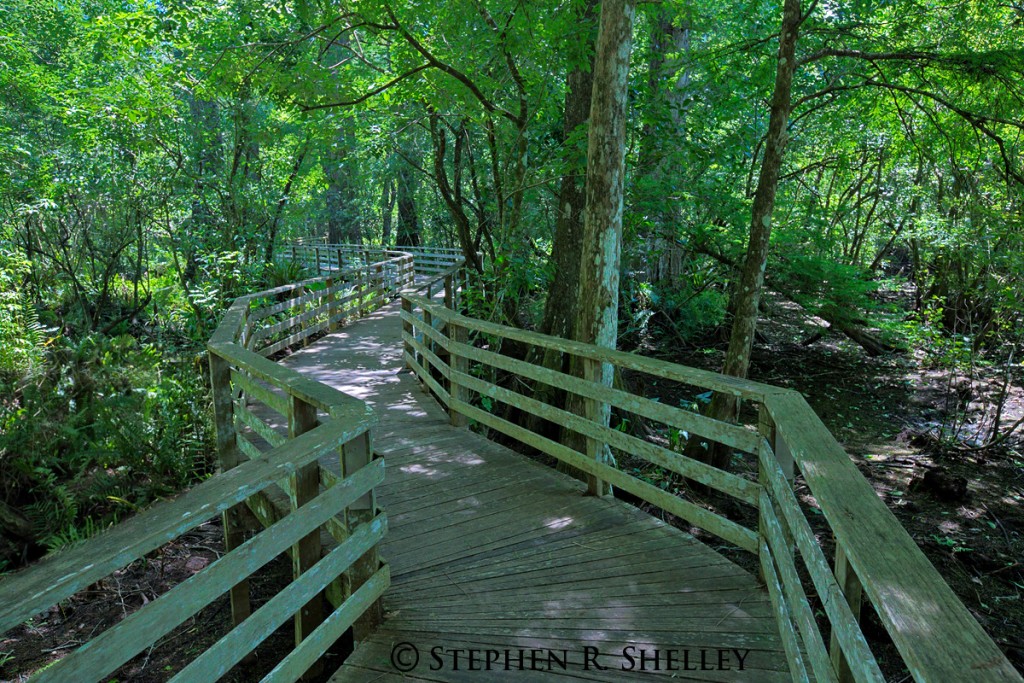
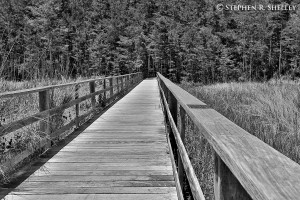
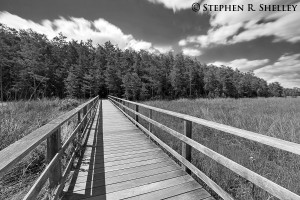
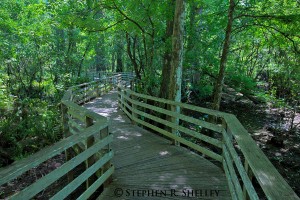
I stopped by Highland Hammock after a friends wedding this past weekend. They had recommended this as a great place for photography so I wanted to drive through and check it out. I did not have time to do much exploring as I had my family with me, but we did get to walk a few of the boardwalks and drive some the trails. It was a very unique place that I will definitely return to when I can spend a day or so catching the right lighting conditions. We also saw some wildlife including deer and some gopher tortoises.

Corkscrew Swamp Sancutary

I tagged along with fellow photographer Robert Chaplin to the west coast of Florida for a quick scouting trip of Corkscrew Swamp Sanctuary. Corkscrew Swamp has been on my list of places to check out for sometime. Unfortunately, it was toward the end of the peak season and it was a little hot and the birds had already started to head back north. However, I did enjoy the walk through the boardwalk and will plan to return again when I have better conditions.

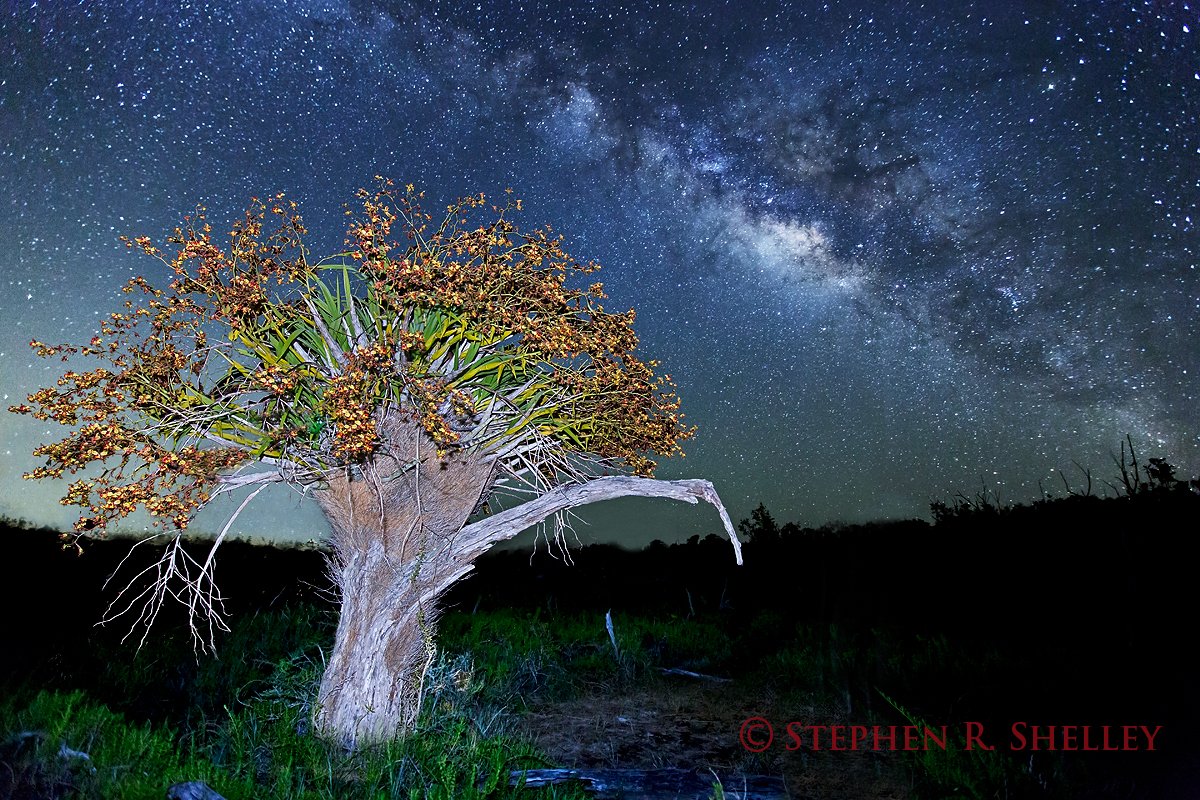
Milky Way Over Rare Cowhorn Orchid in Everglades National Park

There is a Cowhorn/Cigar Orchid in Everglades National Park that is growing out of an old tree stump. The orchid is a very rare specimen as it is more than 5 feet wide and 8 feet tall. It is one of my favorite orchids in the park to see in full bloom. I have been trying to capture a captivating image of this rare Cowhorn Orchid in Everglades National Park for the last three (3) years. However, each time the images come out boring or to busy.

This year I decided to get creative with my efforts and visit the orchid in the middle of the night. I envisioned using the dark starry sky as my backdrop to contrast the vibrant orchid and cause it to stand out in the image. I used a flash to illuminate the orchid and some of the foreground. I was also rewarded in that the milky way was positioned in an ideal location to compliment the scene.

I am happy with this effort and believe I finally got a photo of this orchid that is unique and captivating. I also captured a few sunrise photos before I left, however I had a little problem with my lens fogging up right before the sun rose above the horizon.

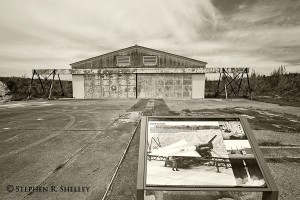
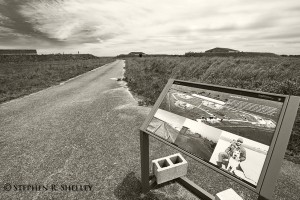
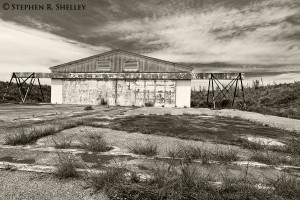
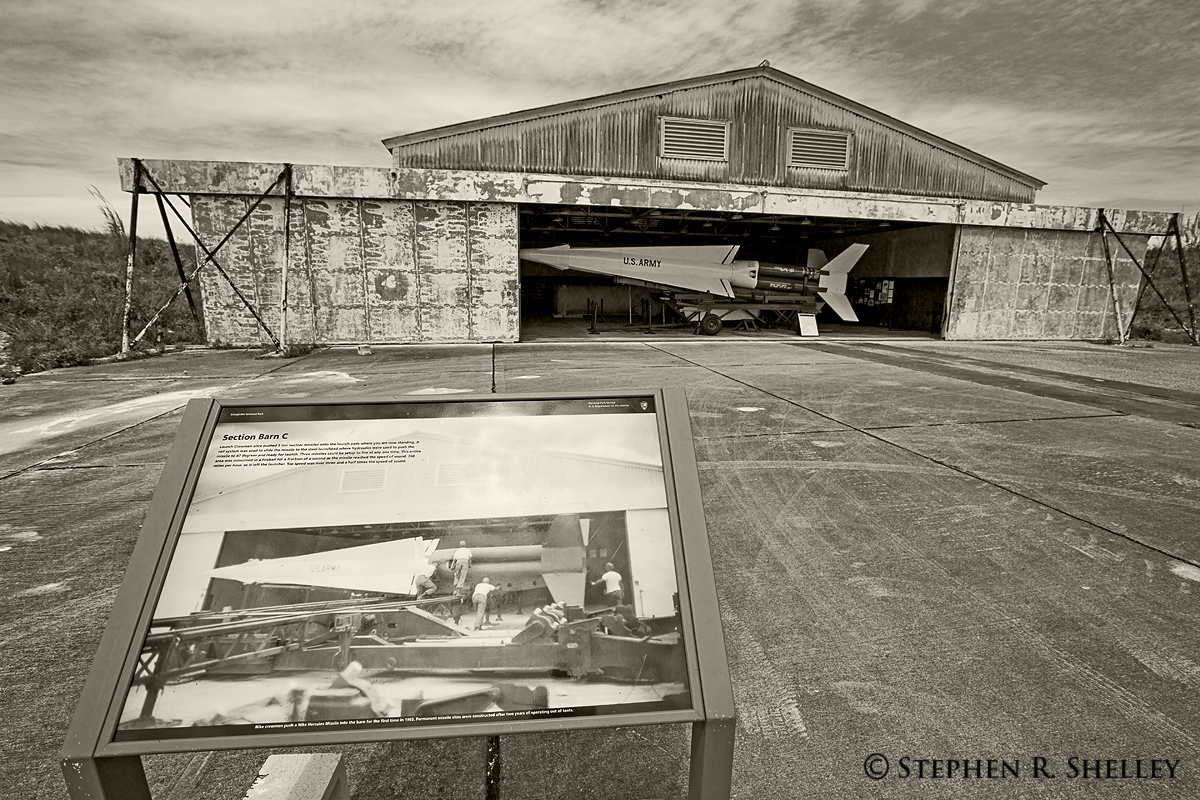
Nike Missile Site Everglades National Park

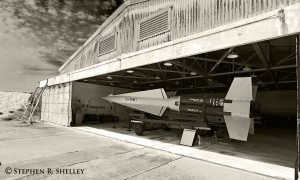
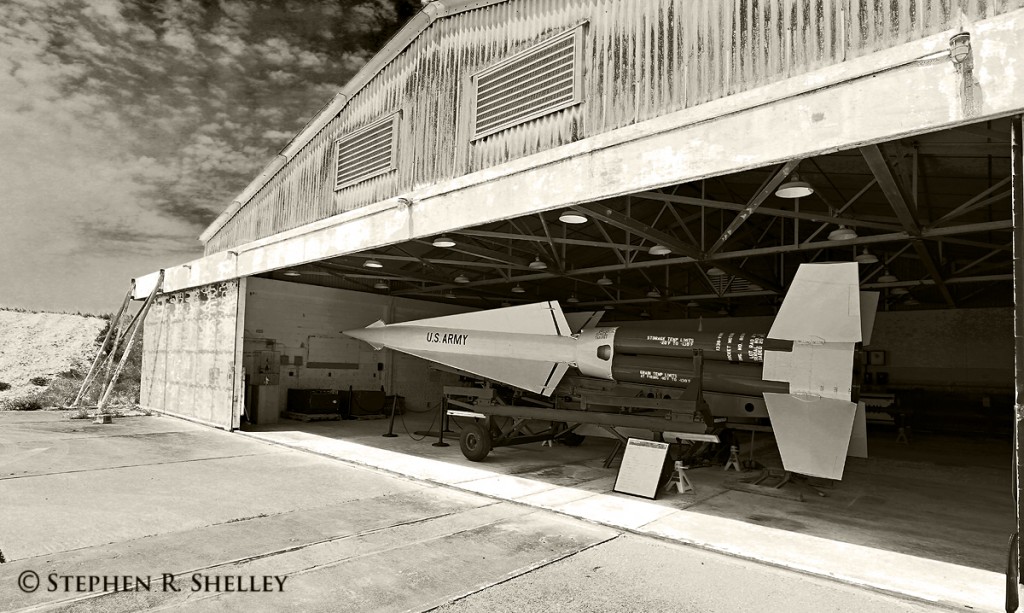
This past Saturday I had the opportunity to tag along with the South Florida National Parks Camera Club to take a tour of the Nike Missile Base located in Everglades National Park. The Nike Missile Base, HM-69, is no longer in operation and has been declared an historic site. The base was constructed in 1962 to help defend the United States from an attack from Russia during the Cuban Missile Crises. The base closed in 1979.

Everglades National Park offers tours of the site from December through April. There is a fully assembled restored Nike Missile on site within one of the missile silos.

I decided to process the photos in black and white to reinforce the historic nature of the location. Also, I was there in very harsh noon time sunlight causing high contrast between the dark and light areas which yields a more pleasing look in black and white than it does in color.

I highly recommend the tour next time you visit Everglades National Park.